Elevator Complete!
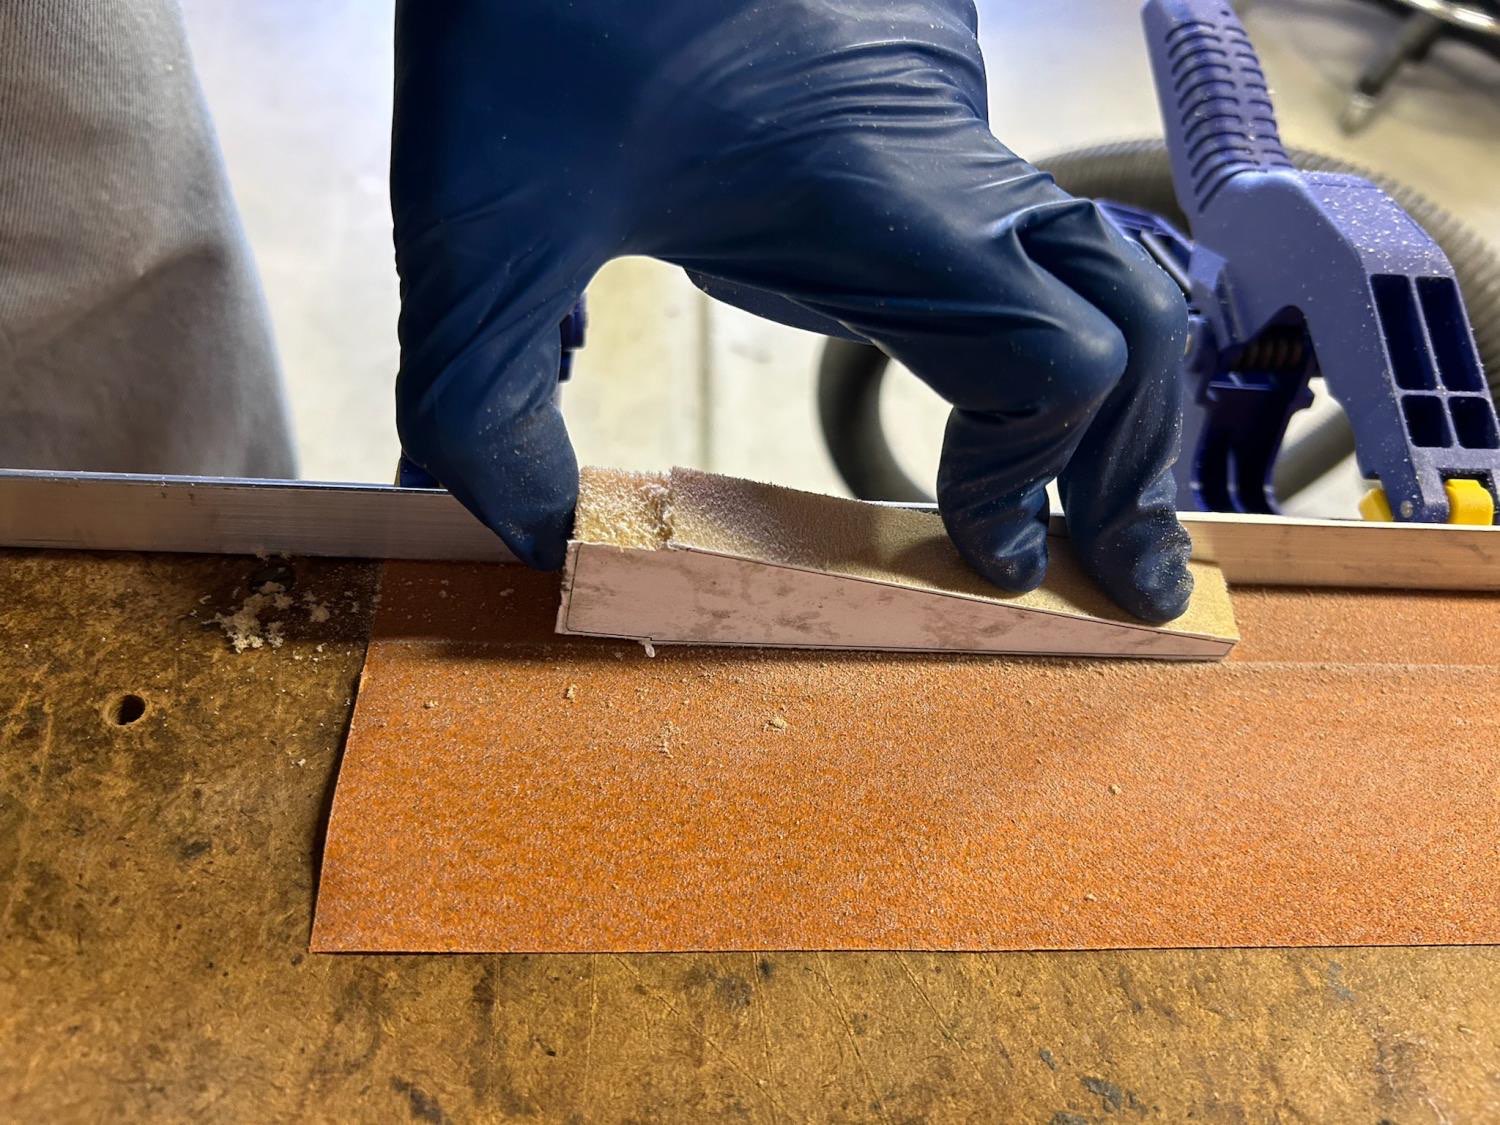
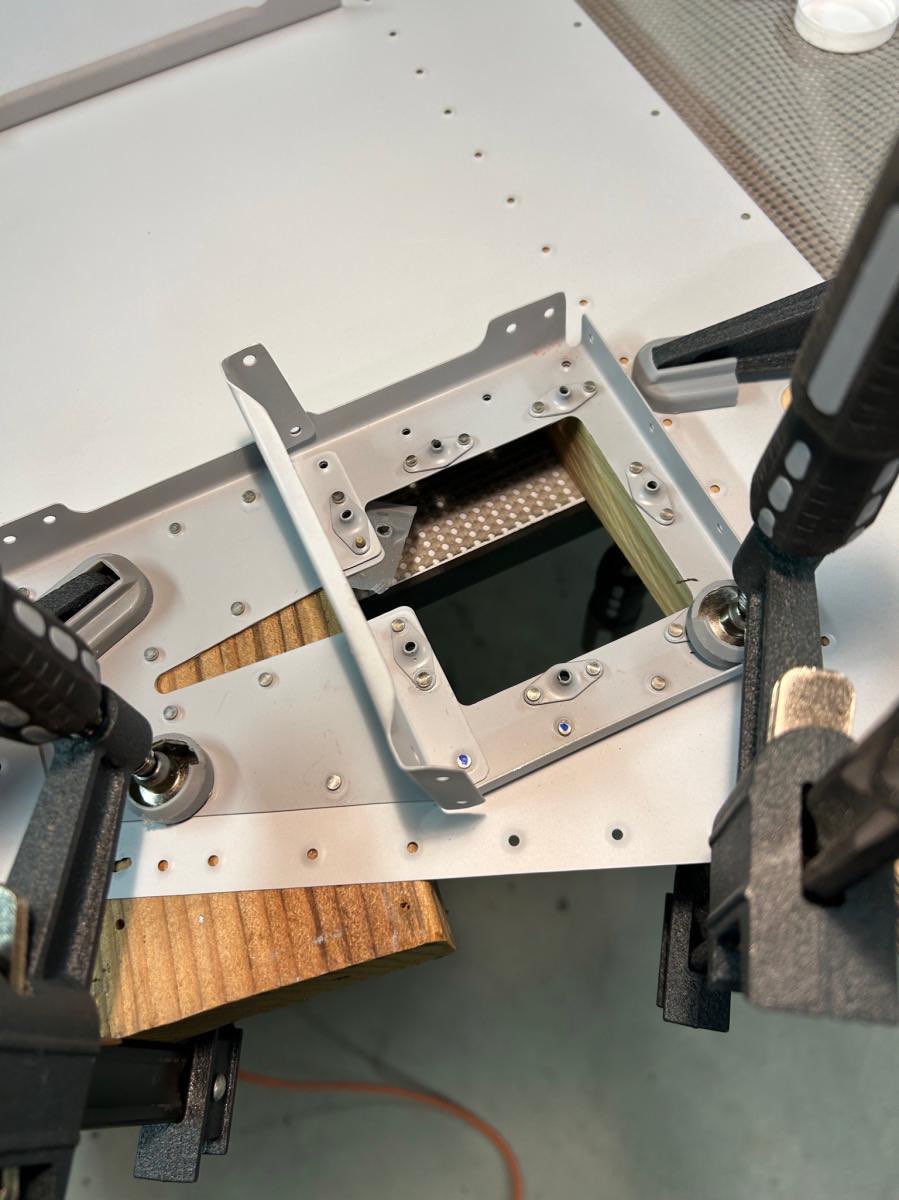
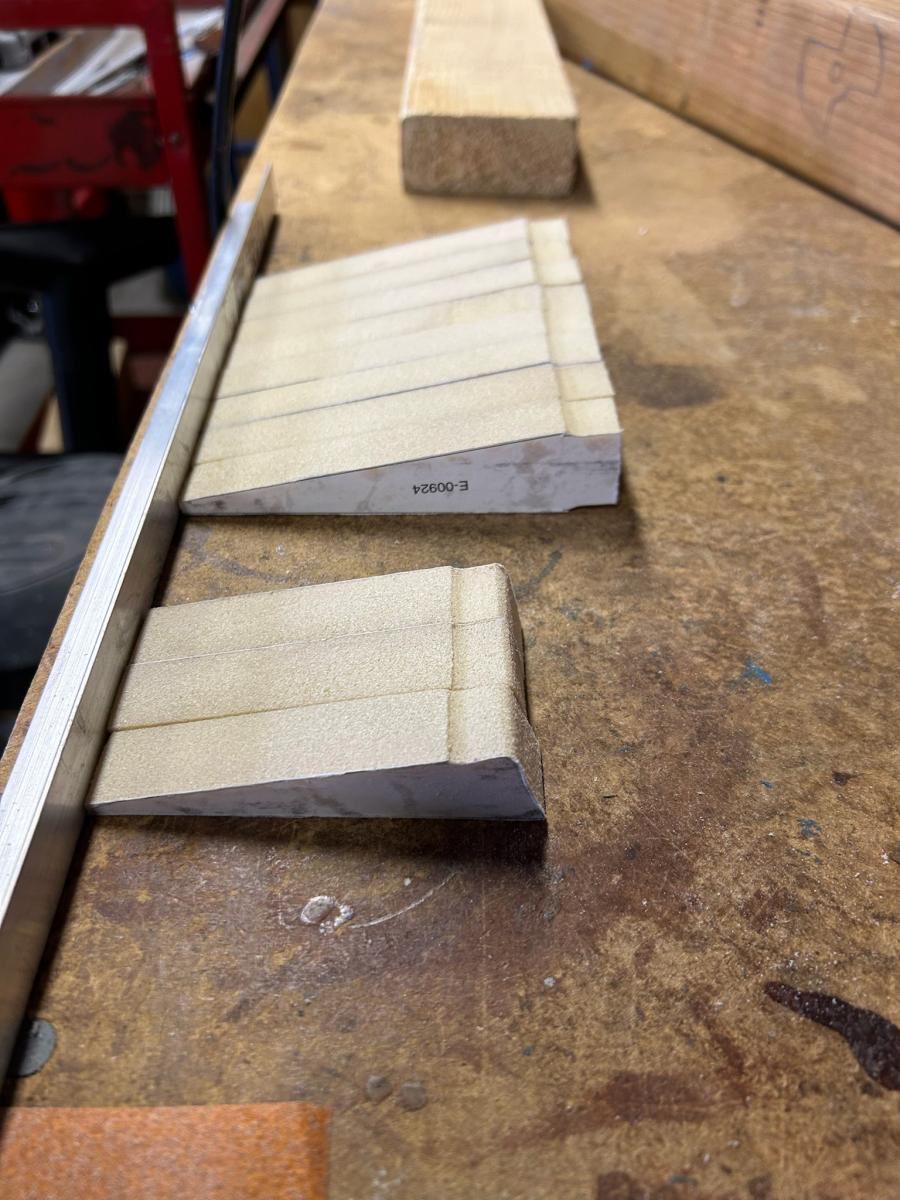
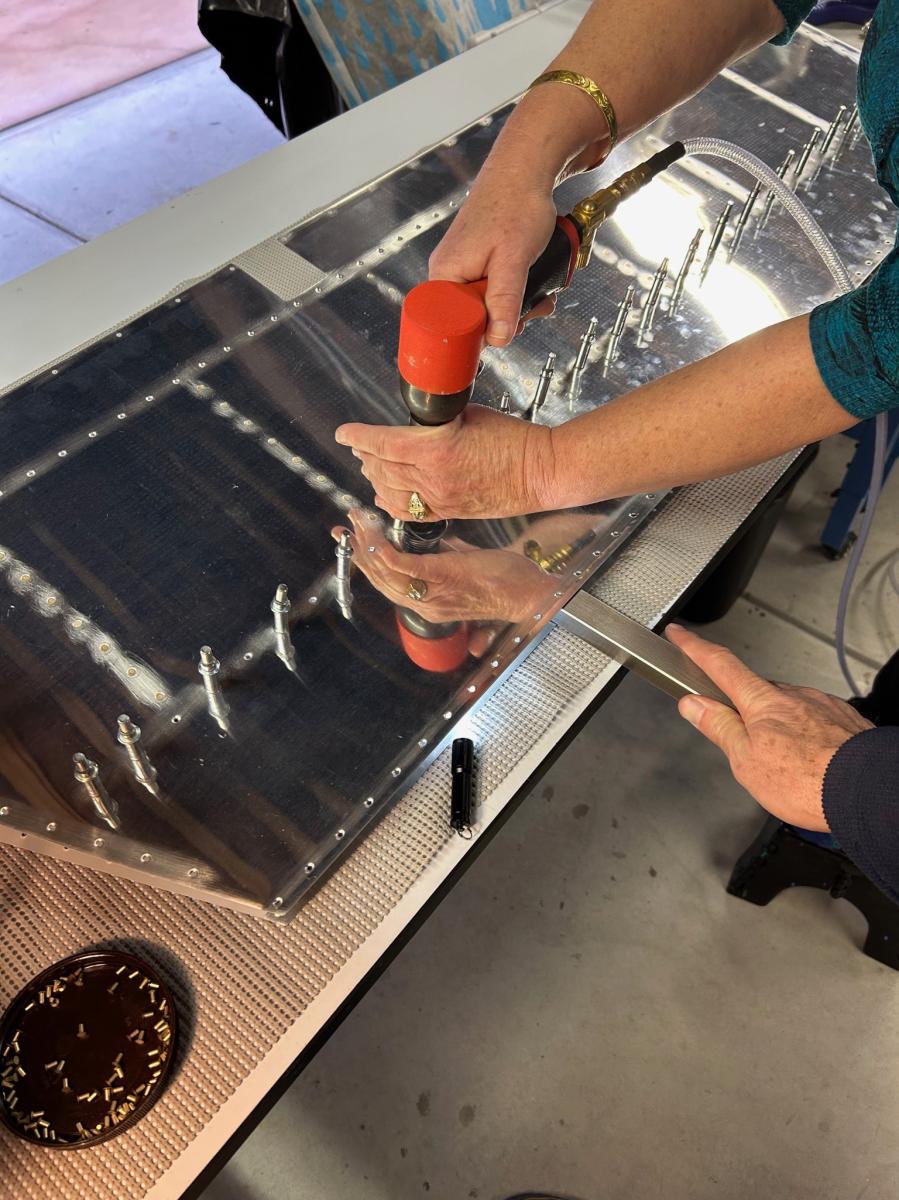
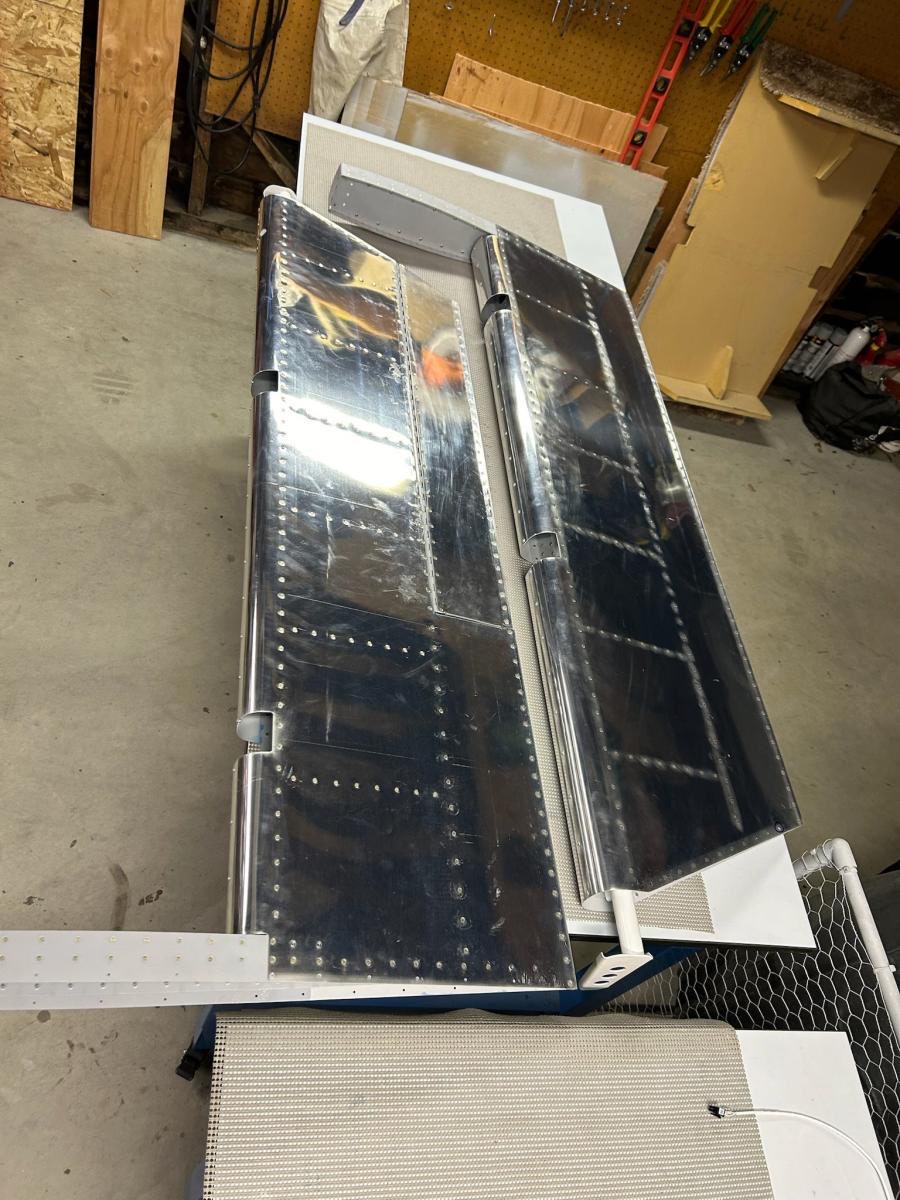
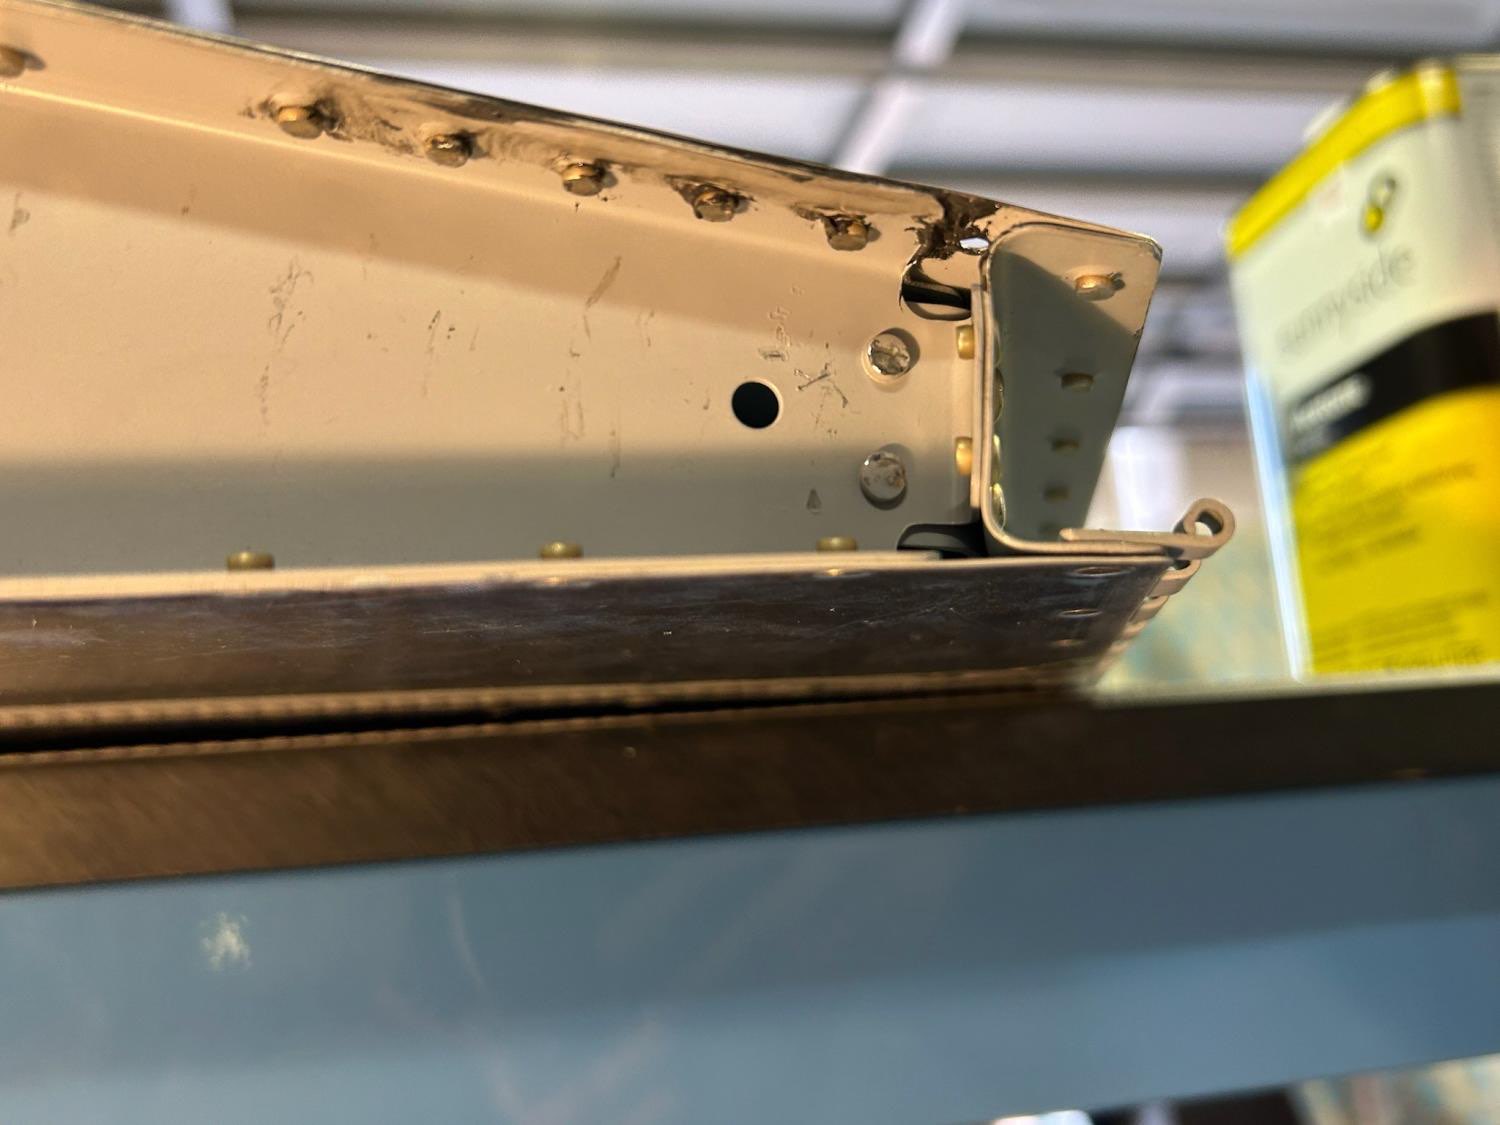
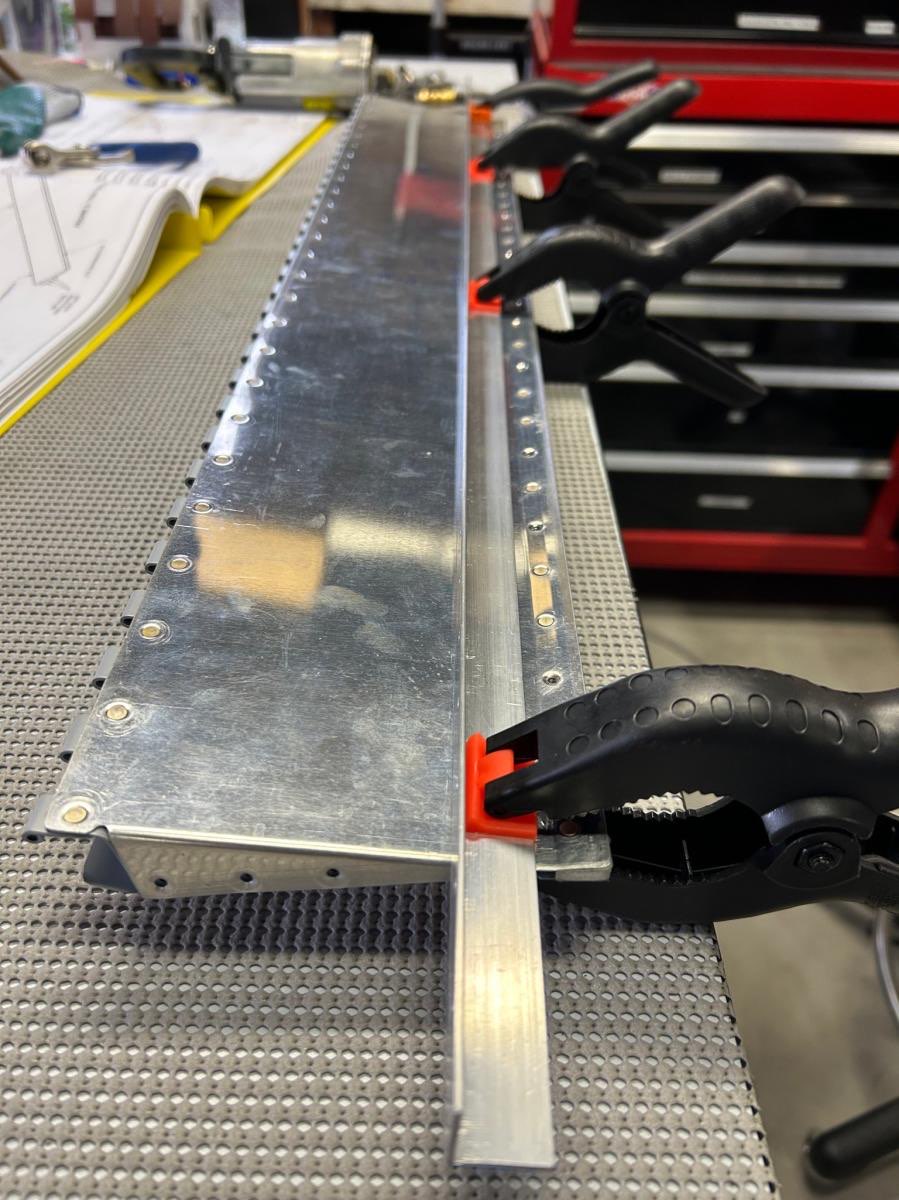
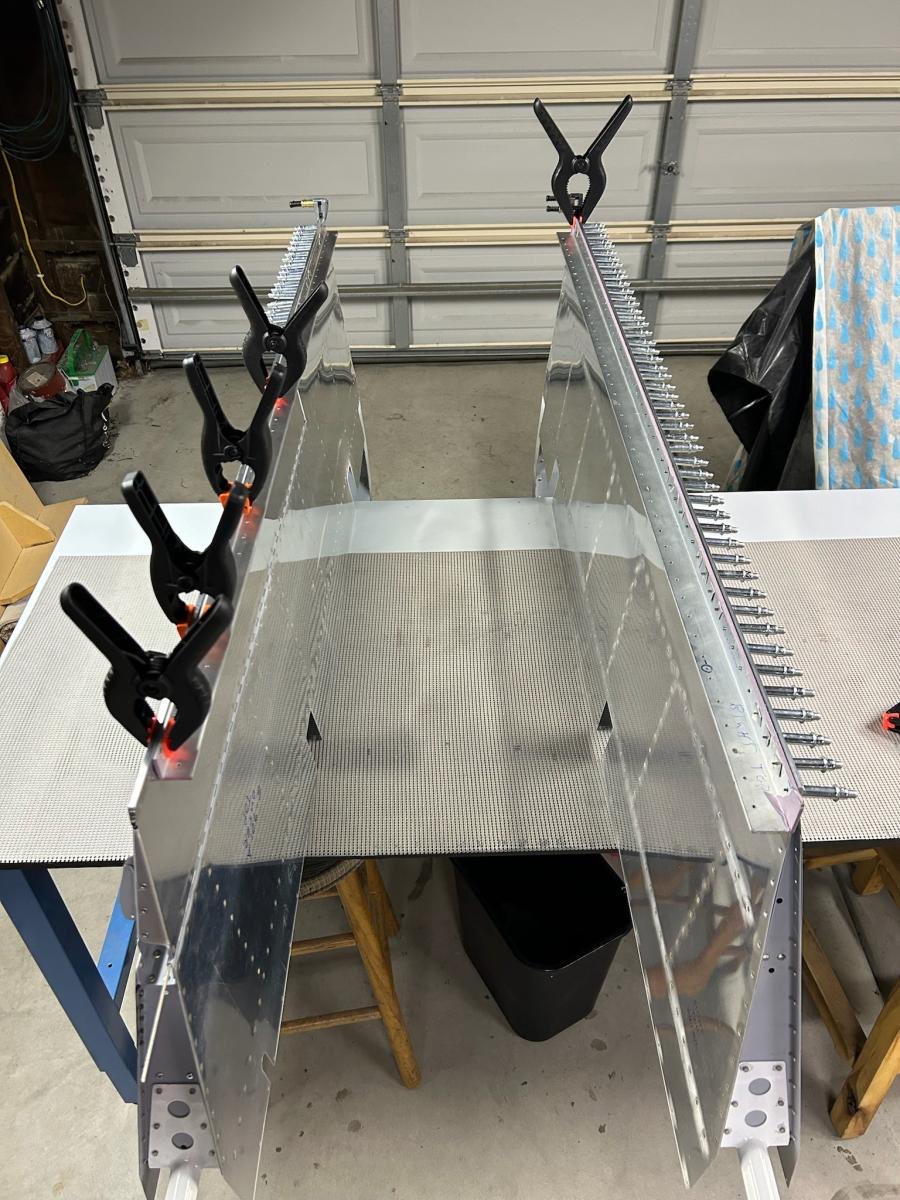
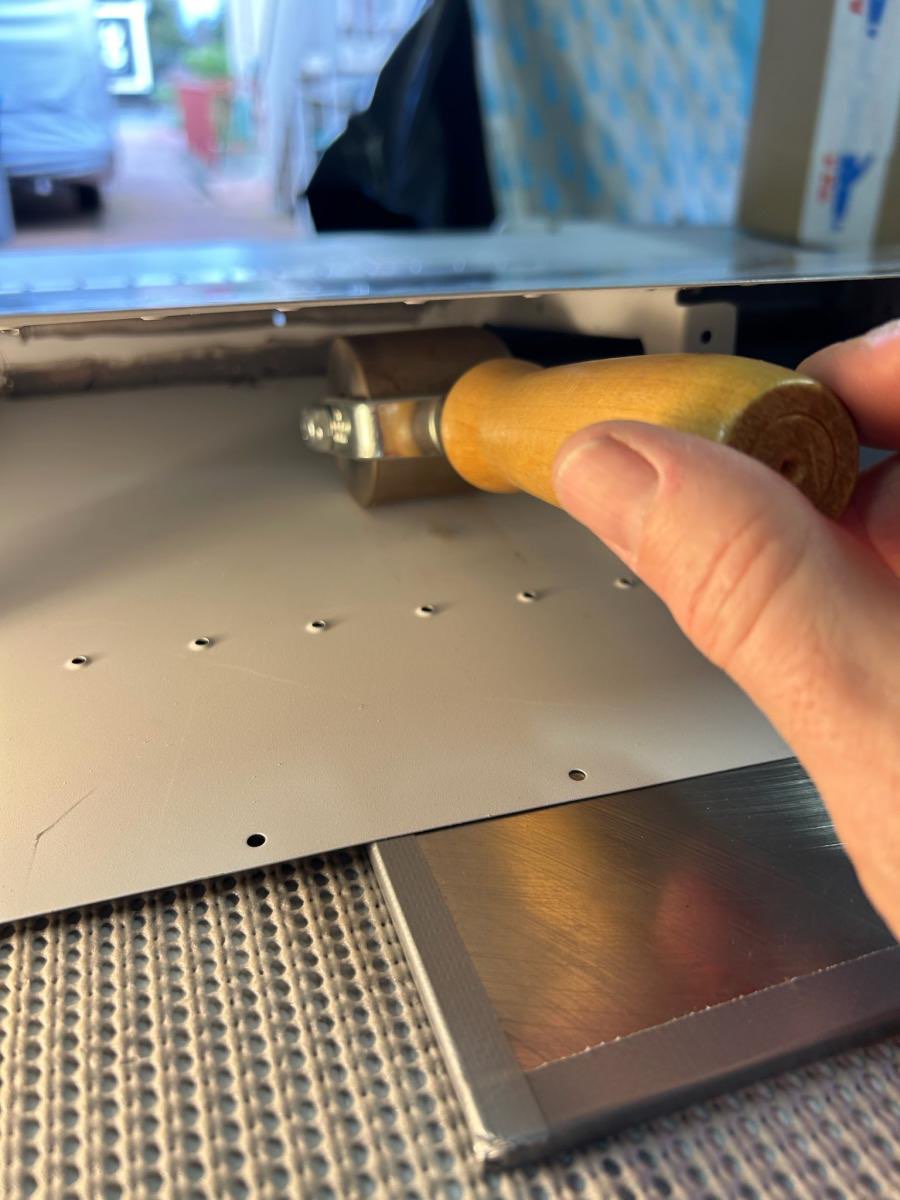
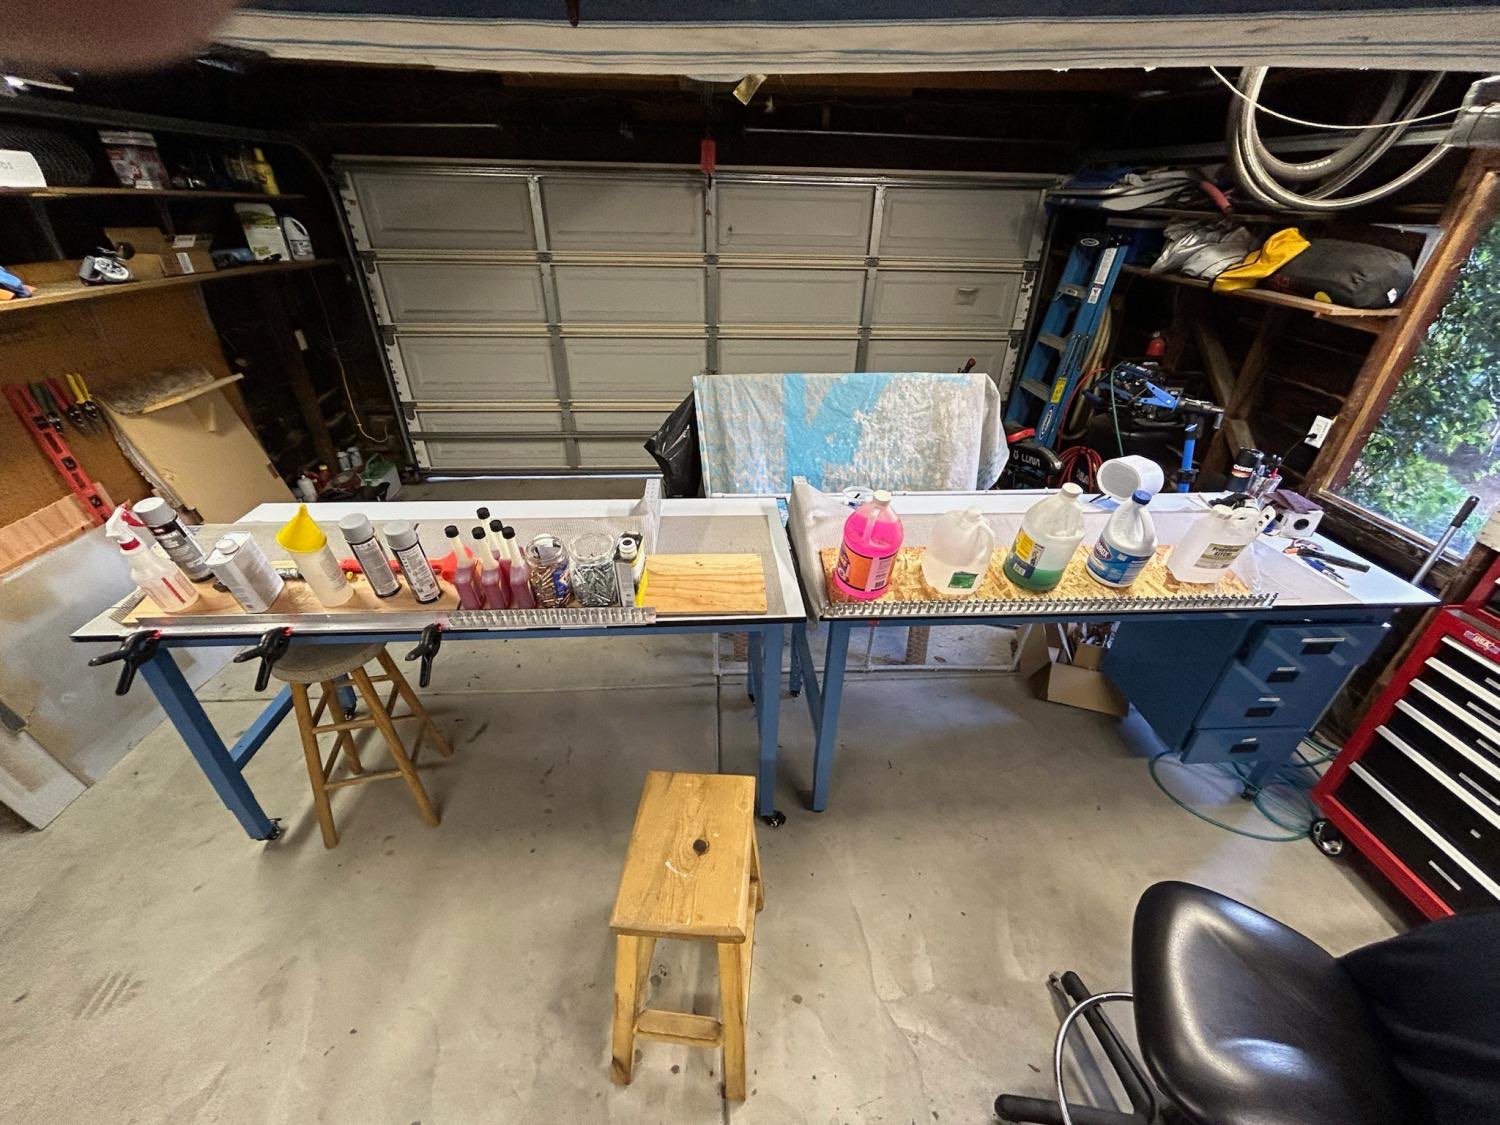
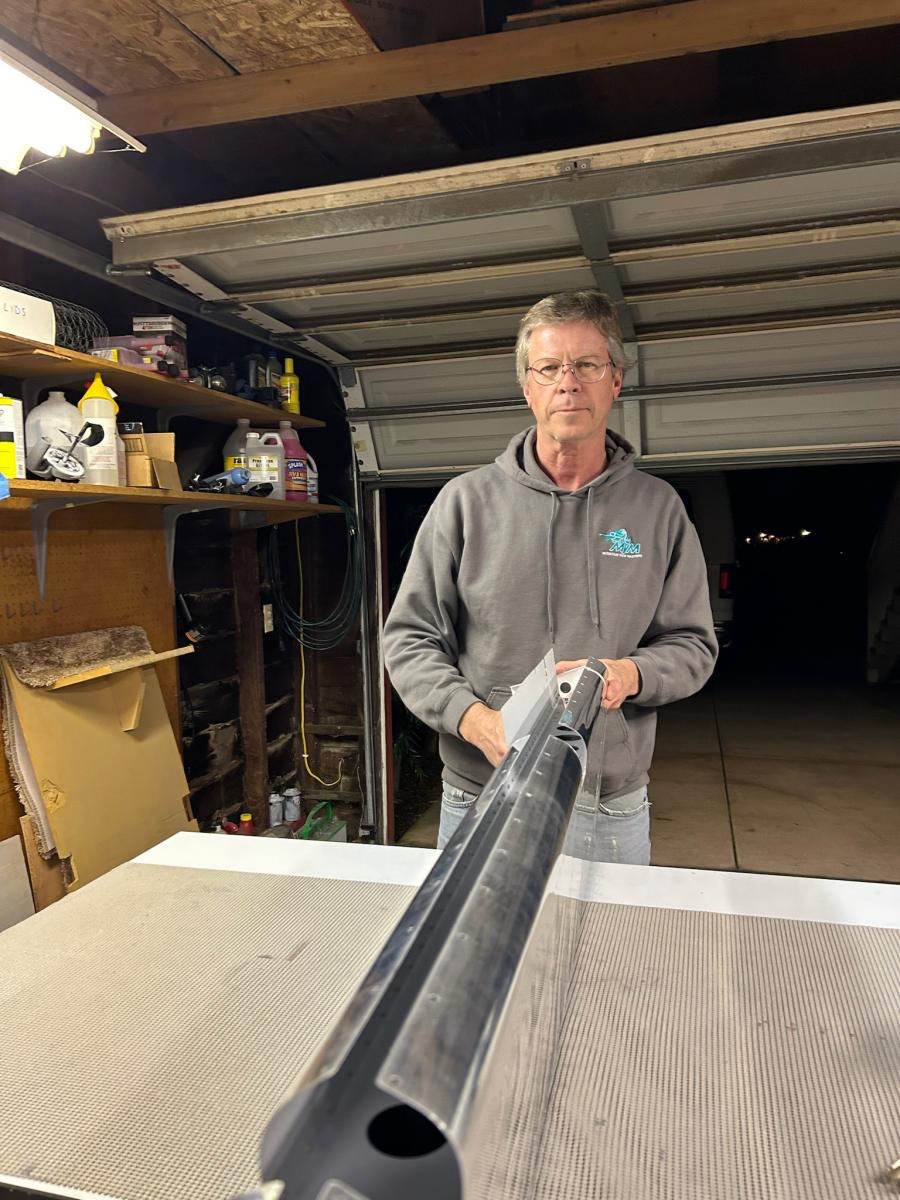
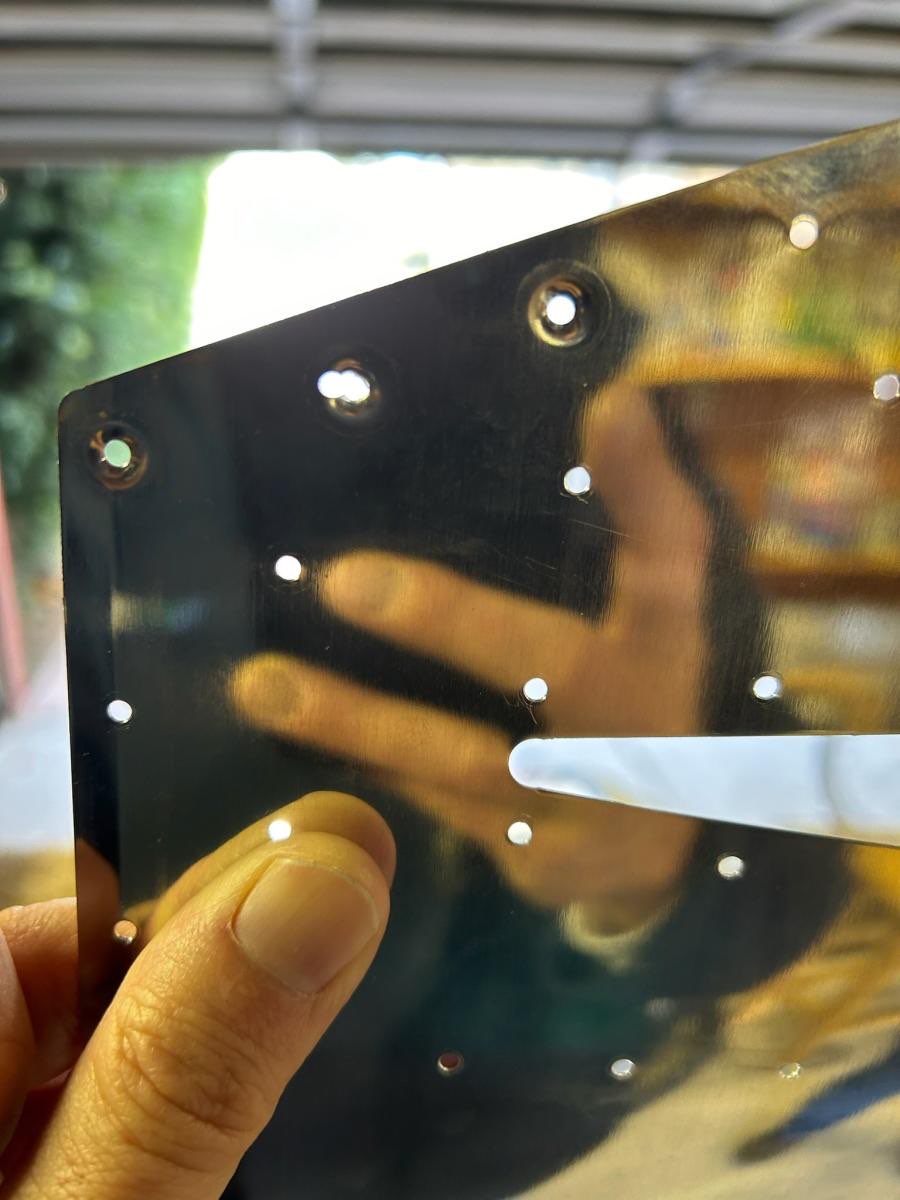
Nov 29, 2023 - Feb 13, 2024: Well, we got behind with the blogging for a while, so this one covers lots of ground, basically the entire elevator assembly. The elevator was the biggest project of all so far, since it is basically 3 control surfaces in one: Left and Right Elevator, plus Trim Tab. It consumed a total of 157 hours, which is a lot compared with the others (VS was 43 hours, Rudder and HS were each 70 hours). I’ll get to some of the details later, but I was also pretty consumed with concerns about the Van’s Aircraft bankruptcy proceedings, and how it would affect our build. Long story short: Van’s declared bankruptcy due to a couple of big problems that the management let happen: 1) the Laser Cut Parts (LCP) debacle and 2) bad primer batches causing corrosion of some quick-build kits. Both of these problems were known by the time we ordered our kit parts, so we weren’t directly affected except by long lead-times as the company recovered. But then the company declared bankruptcy due to the financial difficulties caused by those problems. Long-term, it seems Van’s will come out OK, but there was some immediate impact on builders like me: Our outstanding orders for quick-build fuselage and wing were going to be terminated, unless we agreed to about 35% price increase. We agreed to this, during the Christmas holidays, as did about 80% of Van’s customers apparently. This should allow them to emerge from bankruptcy, but our lead-times are still completely unknown on the fuselage and wing, and I haven’t even ordered the finishing kit yet. Over the Christmas holidays, we were in Madison, WI to visit our daughter, and I spent too much time reading about the bankruptcy issues on the Van’s Air Force forums, and got very concerned that I would be waiting years to get any more parts. So, I looked into buying RV-14 kits and components from someone who decided to bail out, and I spent a couple days talking with a guy in Texas who had been building, but lost his medical, and so was selling. Anyway, he wanted a much higher price (higher than new, even!) for the QB wing and fuse and engine and prop than I was willing to pay. But I gave it some thought, since we are getting older, and I feel the pressure to get this thing flying while we are young enough and healthy enough to enjoy it. We decided to stick with our order process through Van’s, and I hope that we won’t regret it when we get the news of our expected ship dates (they are still unable to predict at this date). So, back to the elevator construction process! The elevator was a lot more work than the previous parts, and included some new techniques, such as foam ribs, and also using Proseal (which is an elastomeric sealant used to seal the fuel tanks) to glue in the foam ribs. Proseal was also used to apply a bead of sealant ahead of the elevator rear spars, to resolve a skin-cracking issue (that became a Service Bulletin) that has been a problem on early RV-14s. It’s also the first component we built that has a moving part: the elevator trim tab, powered by an electrical actuator mounted inside the left elevator. Other than those new aspects, the previous projects taught us all the skills we really needed to make progress on the elevators. Despite our growing experience level, we are still subject to making mistakes that cause frustration and lost time! Some examples: 1) While dimpling holes, Mary punched an extra hole in the flange of a rib. No big deal, just order a new rib from Van’s. 2) While dimpling the left elevator lower skin, Mary punched an extra hole in the skin (actually enlarged an existing hole, making it a “figure 8” hole, which is no longer usable for skin rivet)! This is a bigger deal because shipping a new skin costs a lot, since it is a large part. But Van’s tech support said “build on”, just add some extra rivets (in the skin and underlying rib) surrounding the messed up hole . That didn’t seem too bad, but while drilling the extra holes, I had the rib offset from the skin by one hole, and put new holes in the wrong places! It was recoverable, but caused a lot of extra time and messing around, and it will be visible, but only if you look at the bottom of the left elevator! 3) Somehow we got a small sharp dent inside the top right elevator skin. It seemed like it would be very noticeable, so I tried to flatten it with a rivet gun against a steel plate. Well, I made the dent bigger, but at least not as sharp. It’s quite visible, and I was worried that it would “oil can” in and out. But it was too late to just buy a new top right skin, because it was already riveted to a lot of other structure! So, the dent is there, and visible in some of the photos below. Paul and Kacy swear it will disappear when the plane is painted - I hope so! With the elevator complete, I am content that we haven’t yet completely destroyed anything, requiring a complete do-over! Hopefully I’m not jinxing the next project! We are moving on to the tail cone now, which comes as part of the RV-14 empennage kit. It’s really the aft part of the fuselage, from the baggage compartment back to the tail. It looks like a big project, and after that, we have some fiberglass work to do on the tips of the rudder, HS, VS and elevators. When those are done, we will be stuck until we get some new shipments from Van’s, such as the wing and fuselage. We are hoping to get delivery dates on those soon, and we need to strategize next on when to order and pay deposits for the finishing kit and engine. Maybe we’ll figure that out by Oshkosh in late July.
Time spent: 157hr