Aft fuselage side skins and systems installation
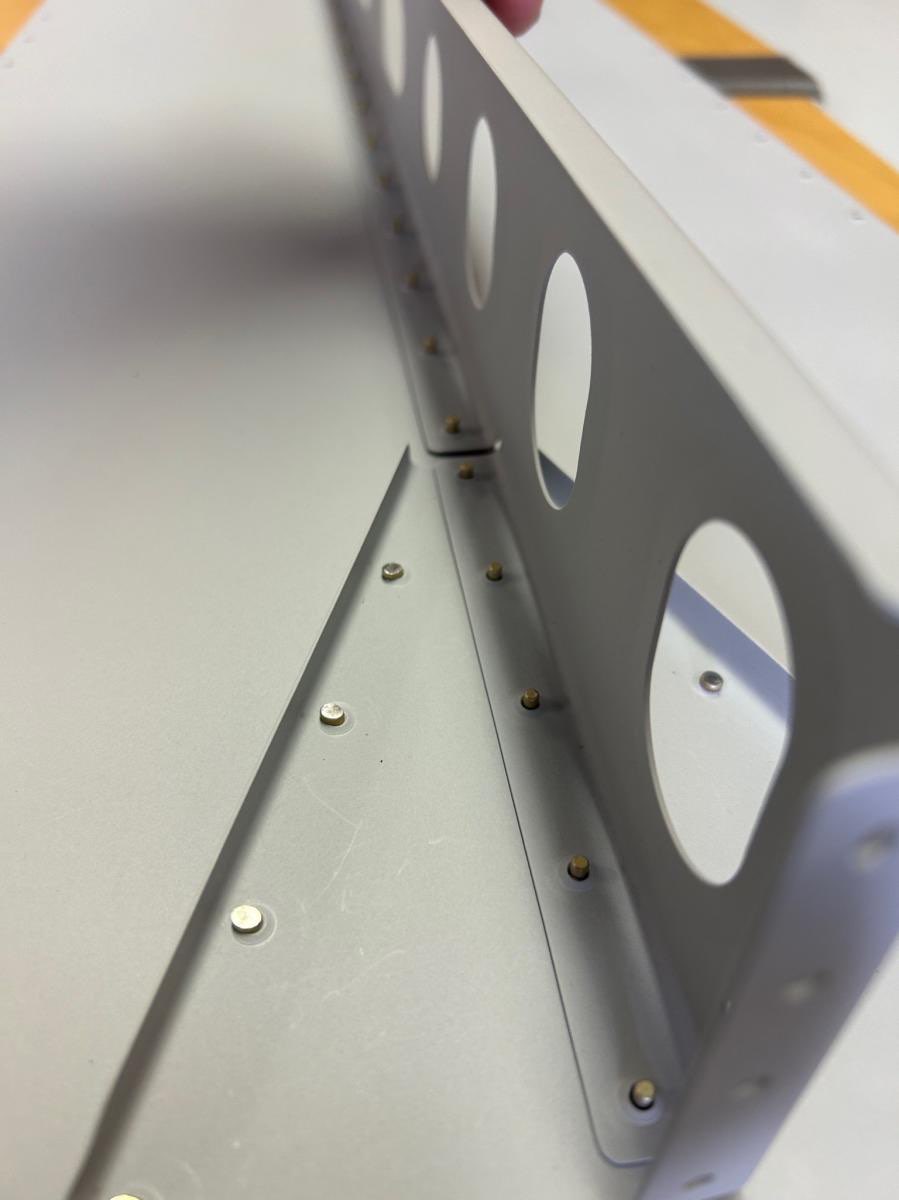
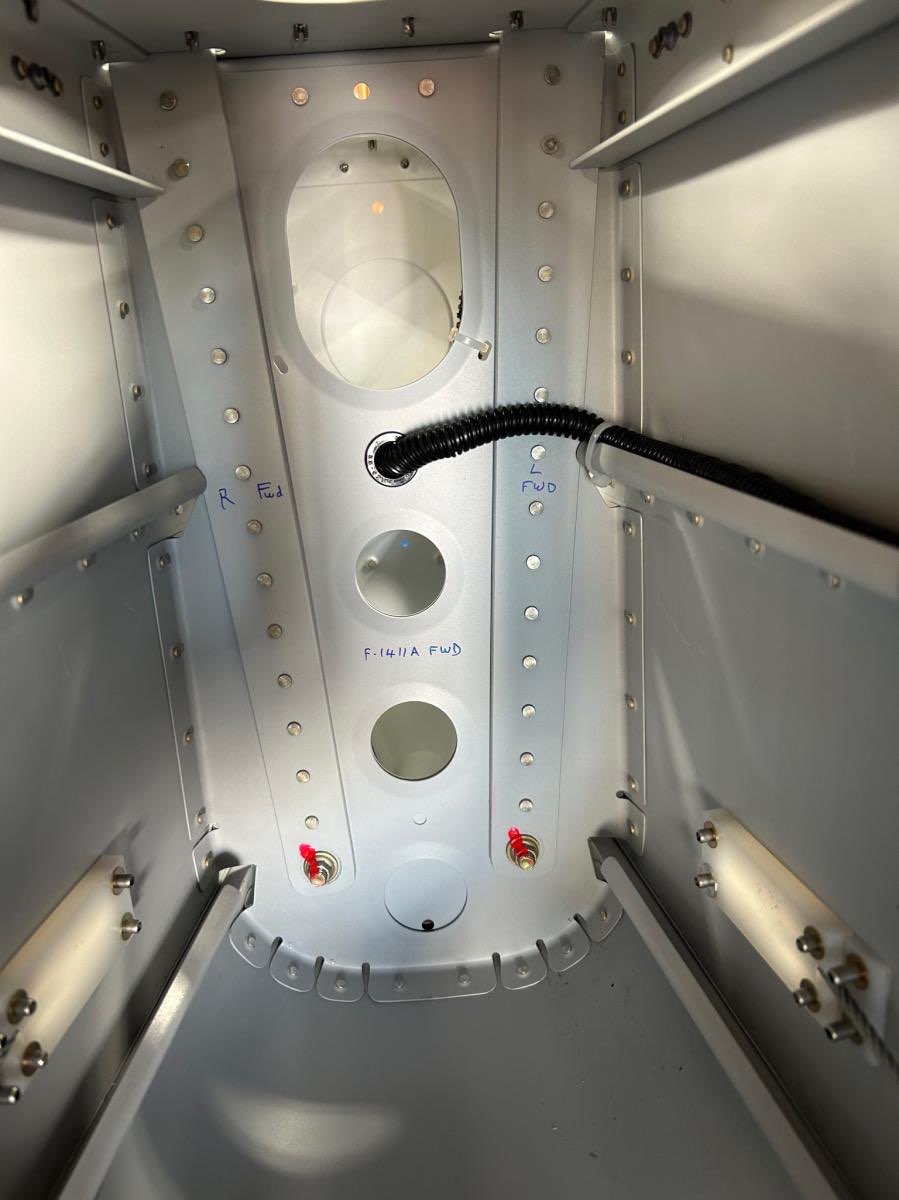
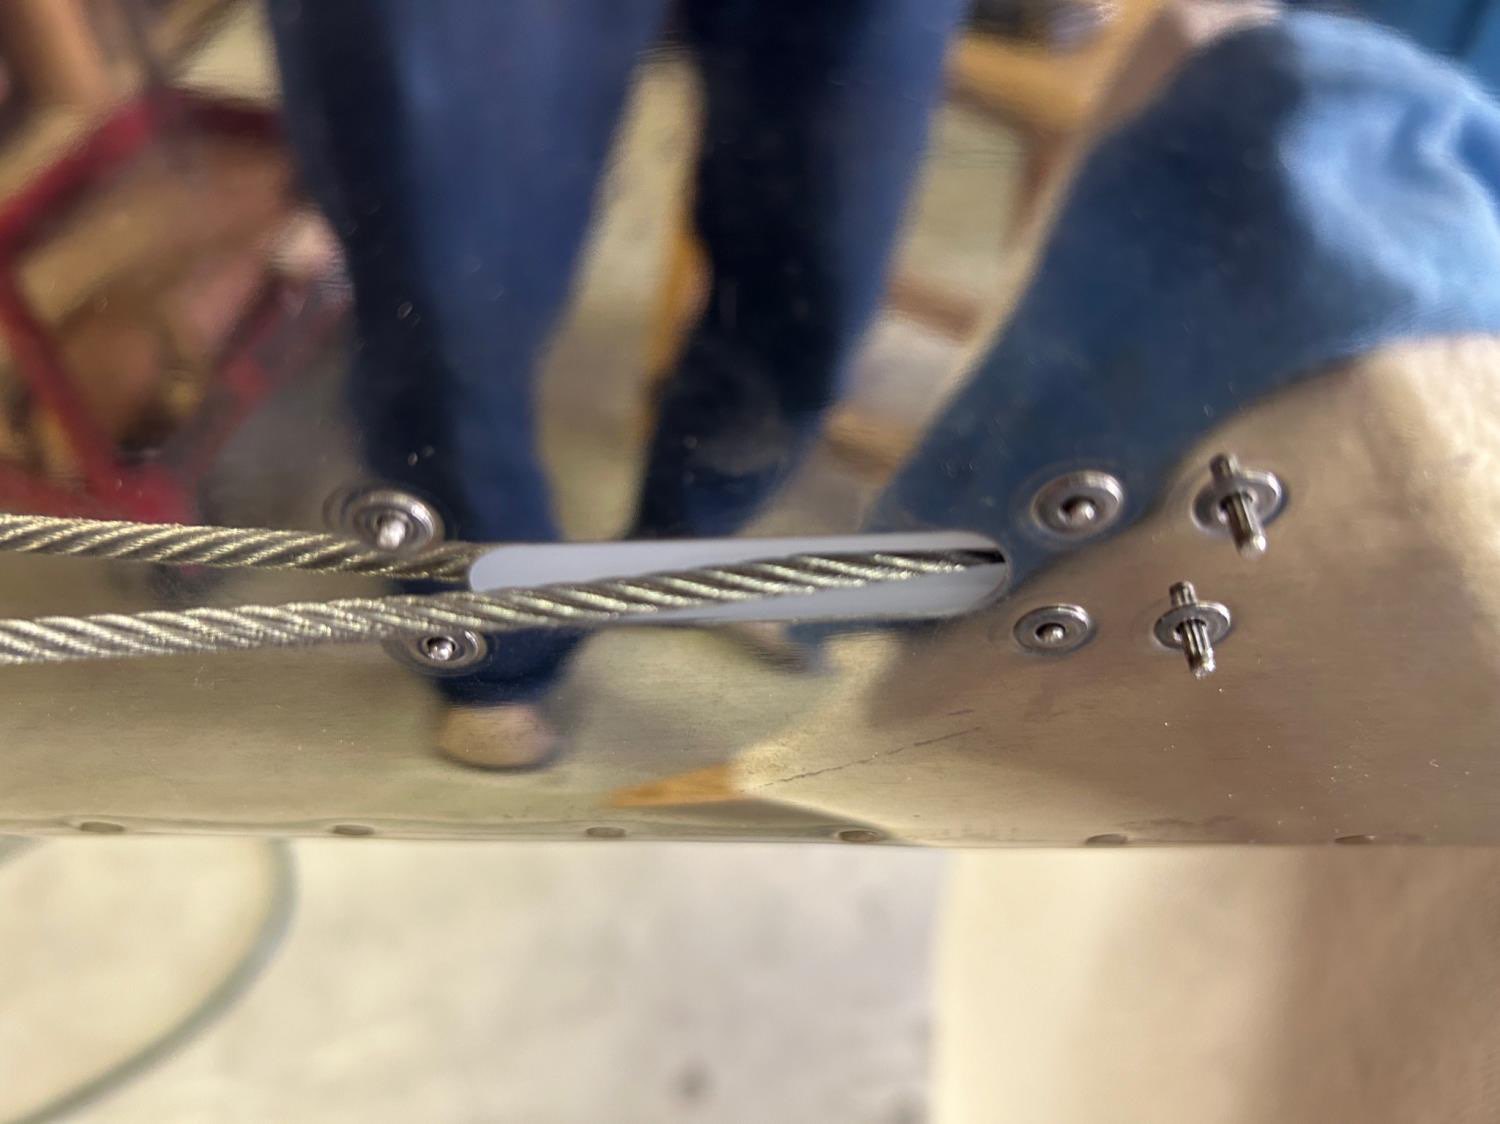
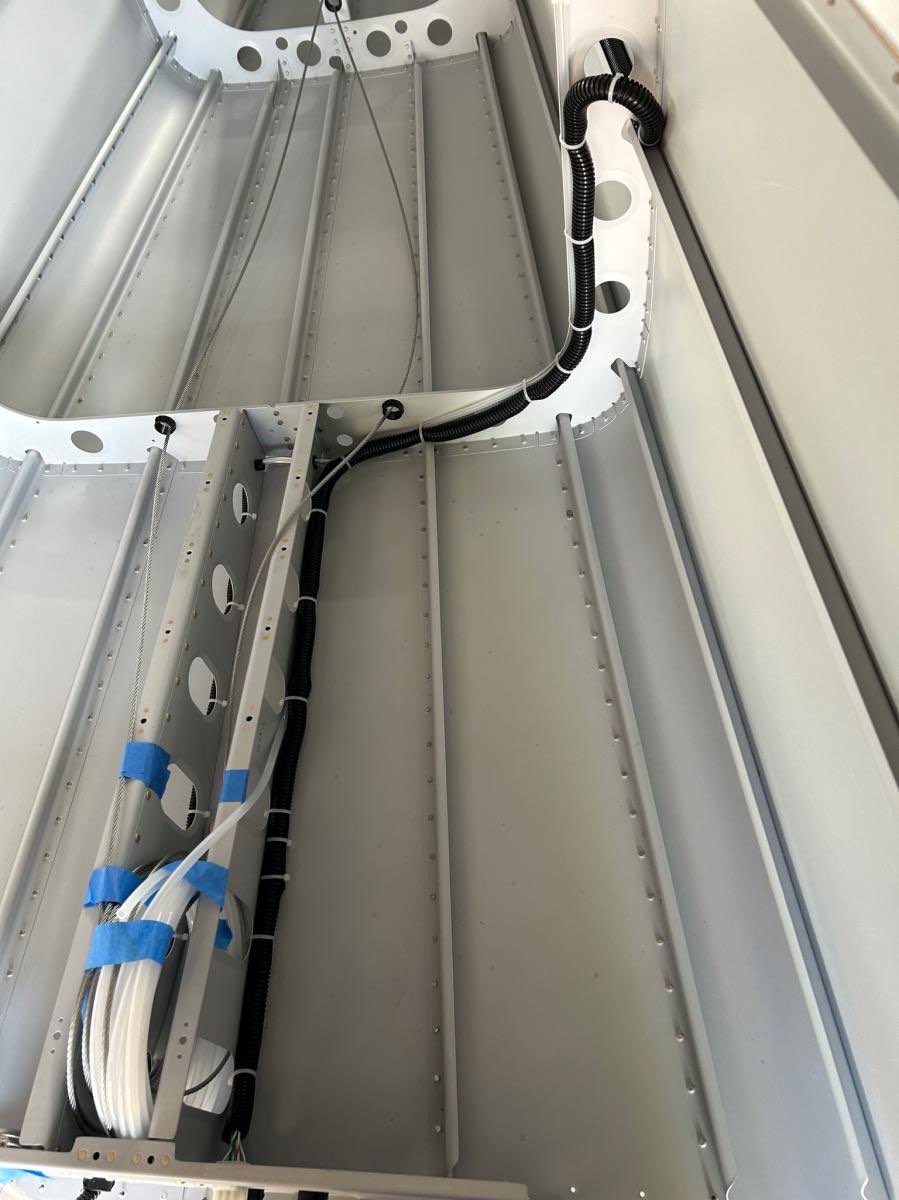
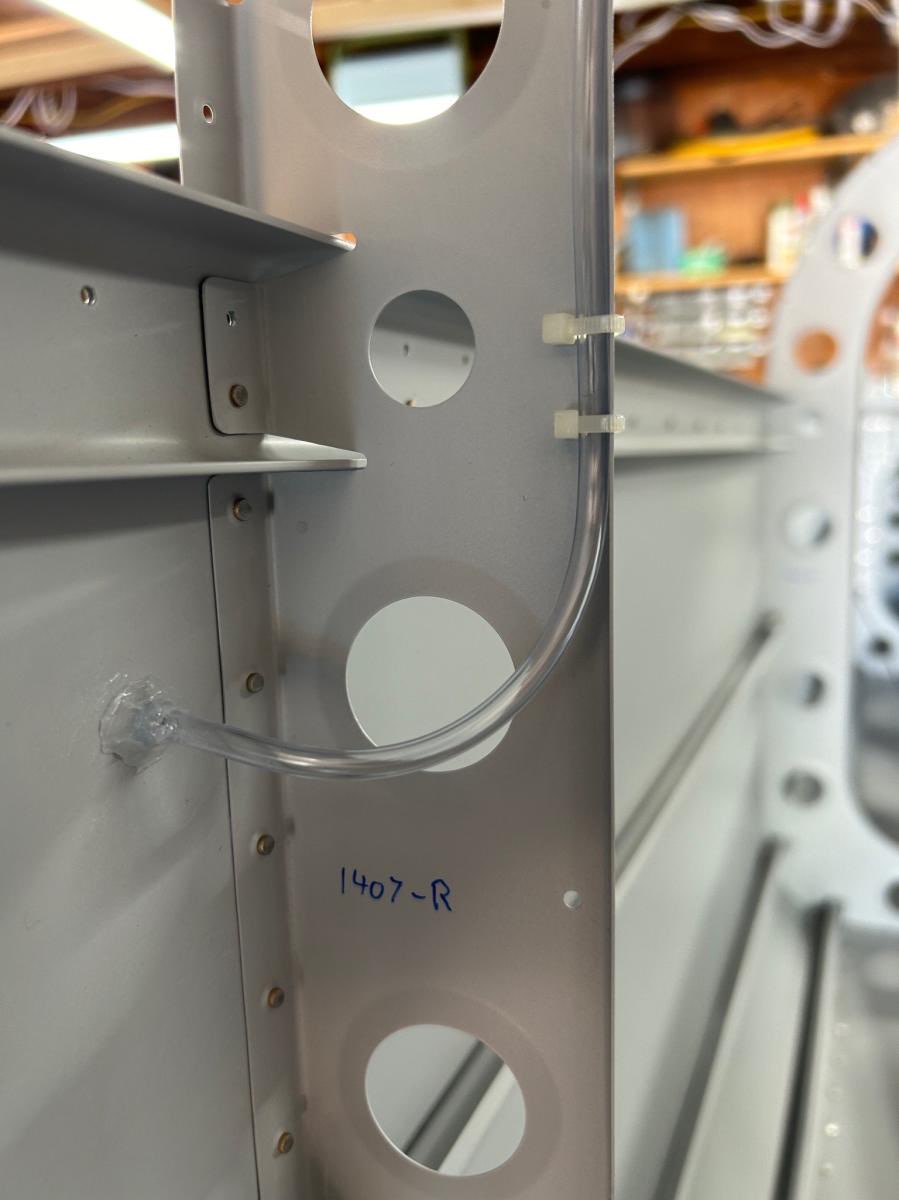
April 10 - 29, 2024 The aft end of the tailcone had plenty of tricky rivets, which I define as anything requiring more than a few minutes per rivet, and with high risk of messing it up and having to drill it out. There were at least a dozen of these, and a few that I couldn’t access with any bucking bar that I owned. I ended up buying another titanium bucking bar from Cleaveland, with a thinner profile than their standard one. The first photo below shows one of those rivet holes. Making it worse, I messed up the rivet (oversqueezing, maybe, but I forget) so it needed to be drilled out. When I drilled it out, I bent the bulkhead flange inward, adding to the trouble. I tried to epoxy the flange down, but it came loose as soon as the rivet gun hit it (probably should have used Proseal instead of epoxy). Drilled it out again, and enlarged the hole. I ended up putting a pop-rivet in that hole (with grudging approval from Van’s tech support). Eventually, with some care and patience, Mary and I got all the tricky rivets done without doing any major collateral damage. I worked ahead to assemble the stiffeners and bulkhead onto the tailcone stop skin, which was an obvious application for back-riveting (2nd photo below). I used to be good at back-riveting, and always think of it as easier and less risky than bucking with the rivet gun. But when i started back-riveting the top skin, most all of my rivets were “clenching”, which means leaning over sideways. I couldn’t figure out why, and it was causing me to doubt my sanity. I ended up building a test piece for practicing and tested probably 40 rivets with different combinations of compressor setting, gun setting, hand pressure, etc. I finally found a recipe that worked, but it required immense hand pressure while pulling the trigger, which shouldn’t be necessary at all. That led me to the solution: I had surrounded the steel back-rivet plate with wood trim (taped to its edges) to prevent scratching the skin from the edges of the plate. It turns out the wood trim was slightly thicker than the back-rivet plate, and was holding it a tiny fraction of an inch off the bench. This little air gap under the plate was apparently wreaking havoc with my back-rivets. I removed the trim and the problems largely went away. However, I had drilled out so many of the top skin rivets that the holes were slightly enlarged, which also causes problems with back-riveting. So, I ended up bucking many of the top skin rivets (3rd photo) after all. After getting the side-skins installed, the plans had me switch gears to do some systems installations into the tailcone, such as the wire harness (for tail lights, elevator trim, and ELT), the static port plumbing, and the rudder cables. It was fun to do something other than riveting sheet metal for a change! Next step is aft-deck riveting, and then riveting on the top side skins.
Time spent: 30hr 30min