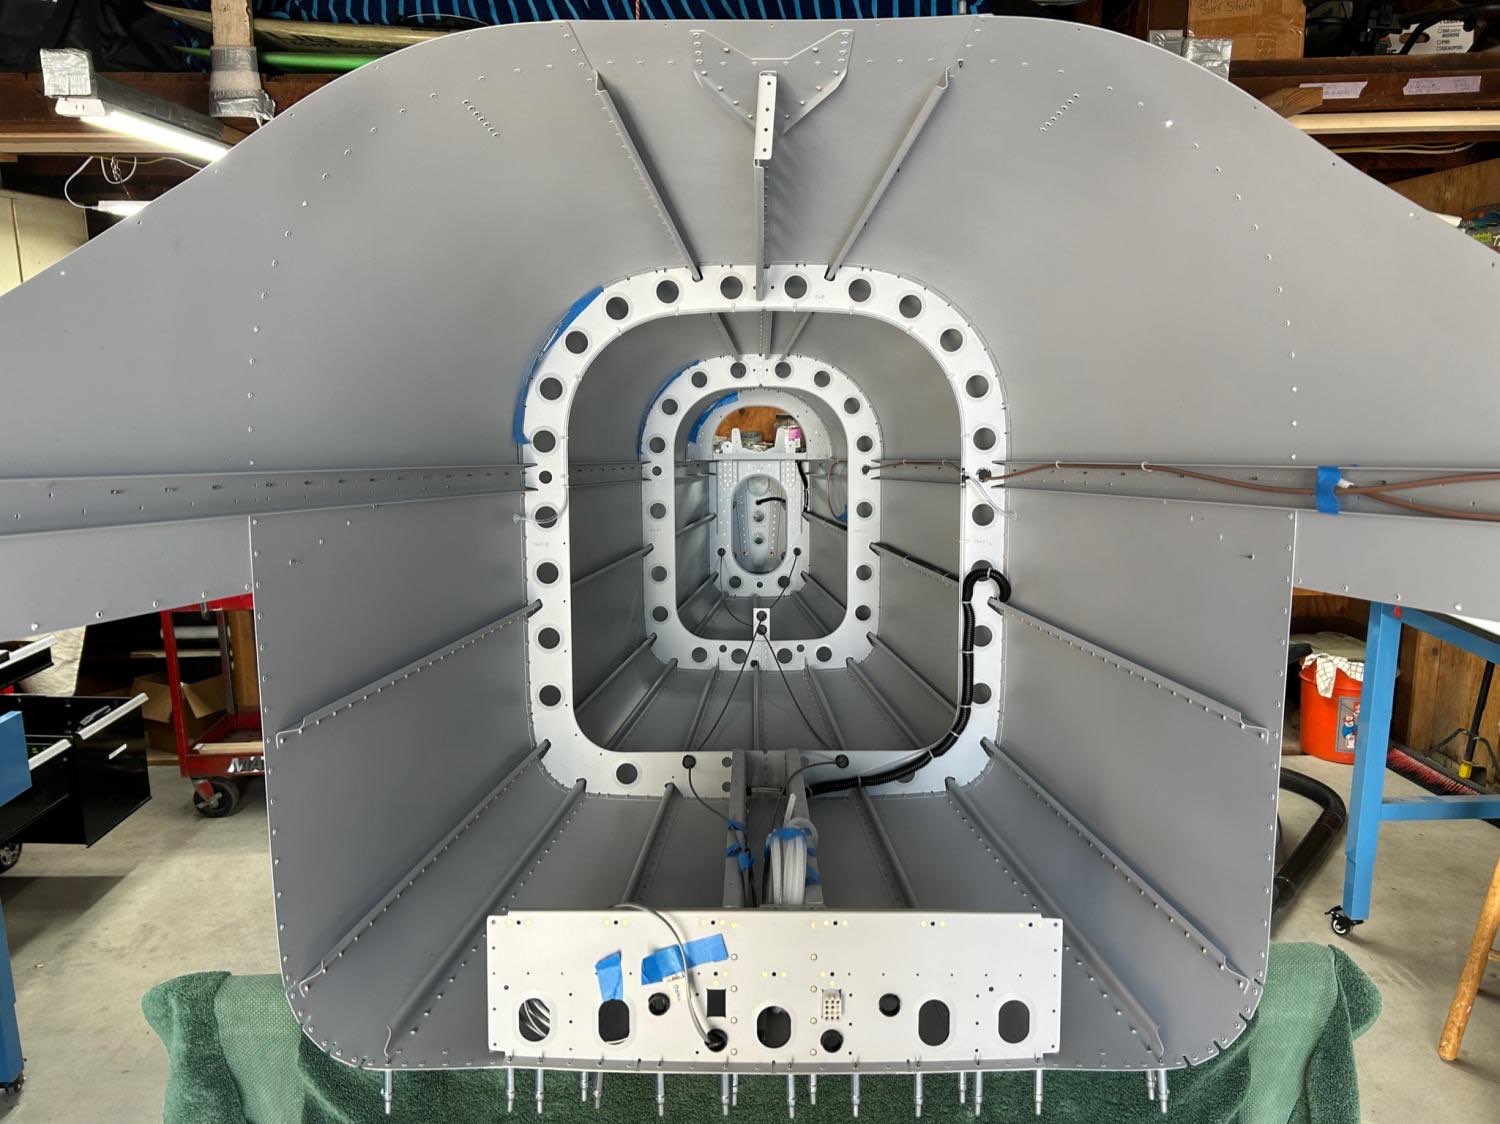
Mounting Vertical Stabilizer, and upper tail cone skins
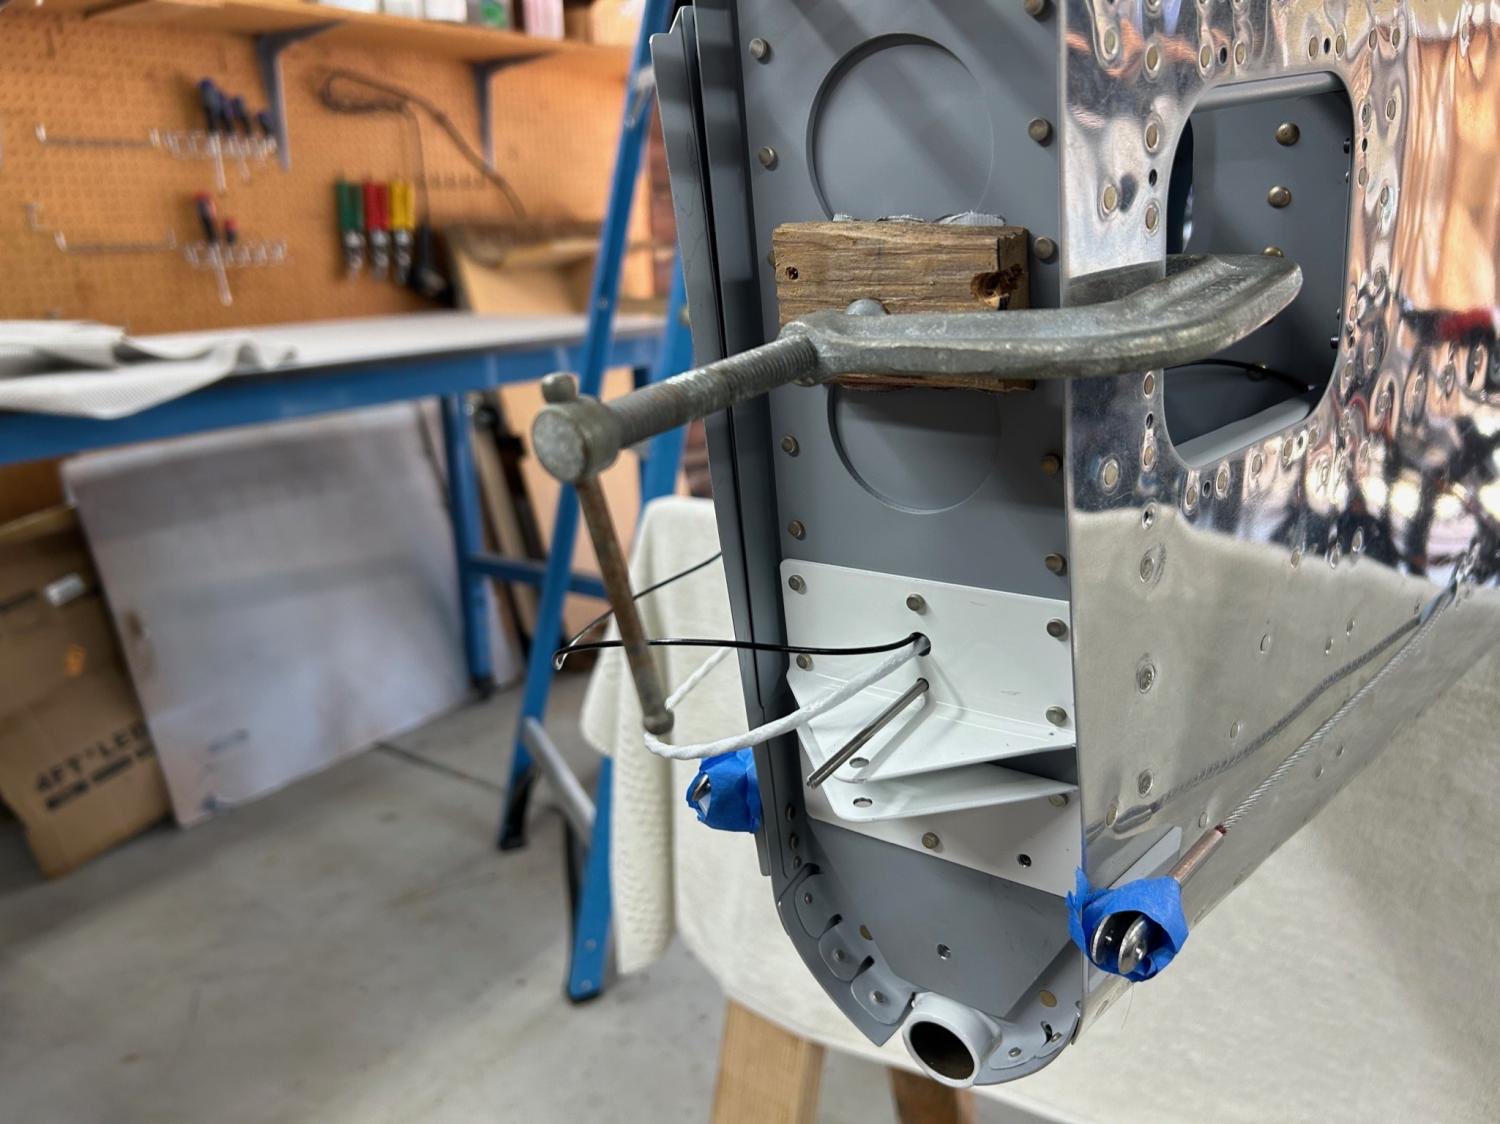
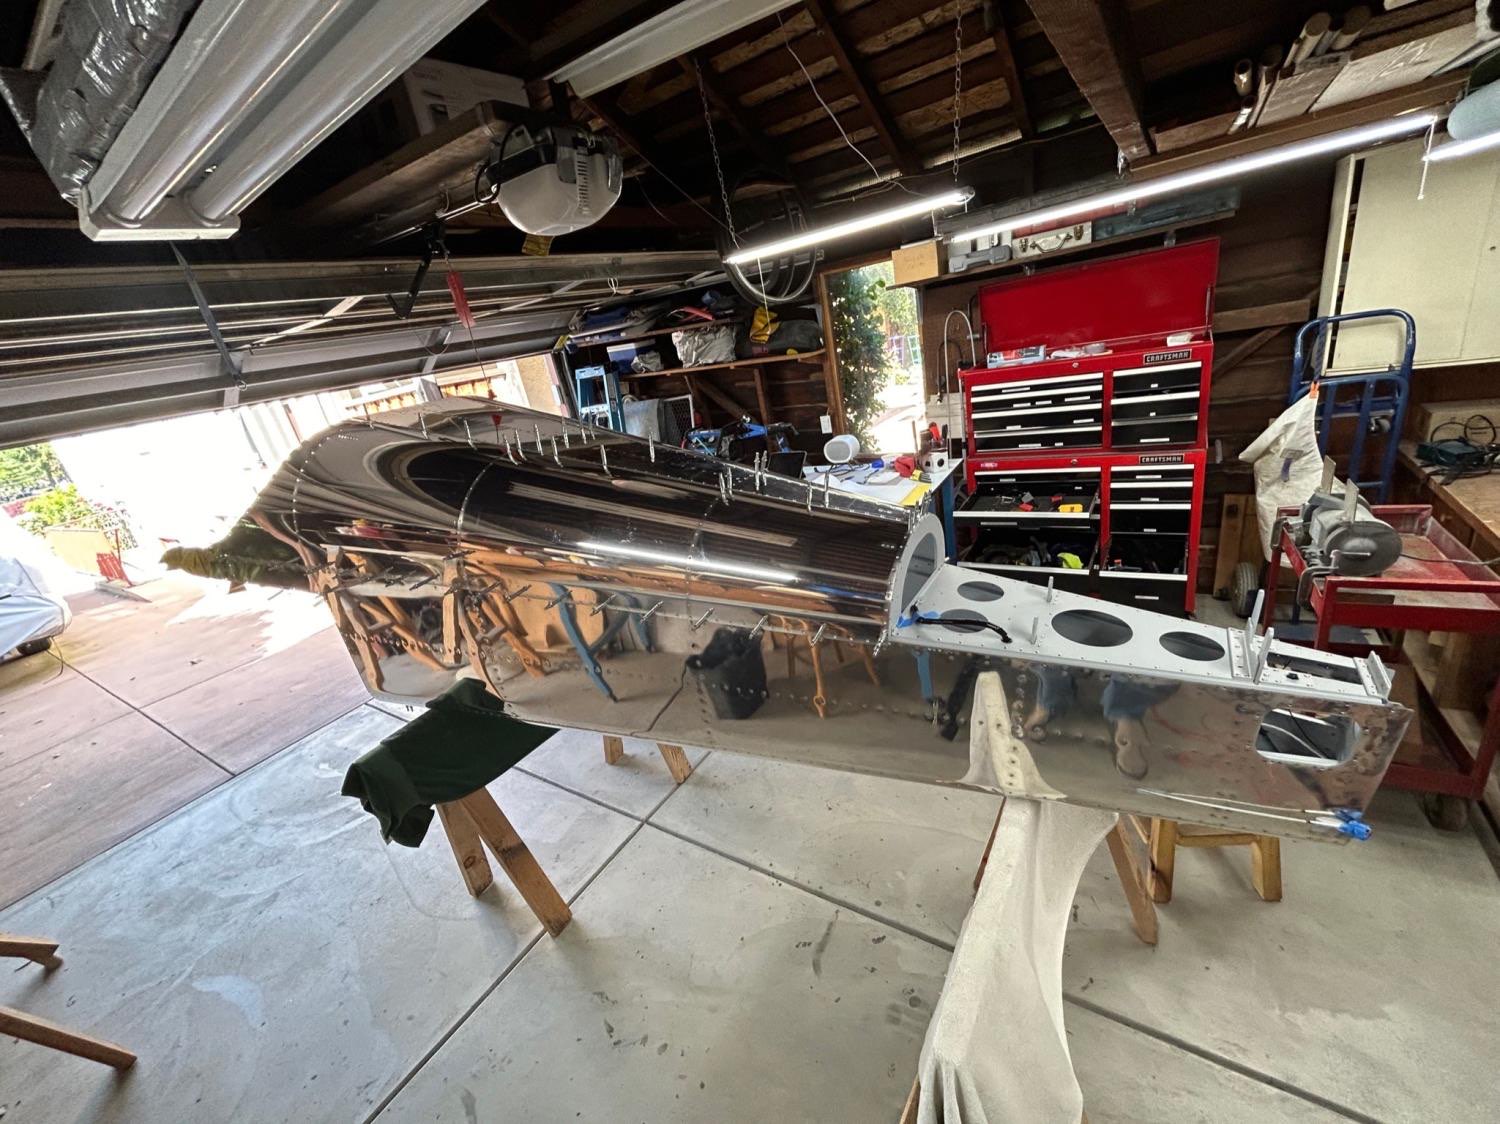
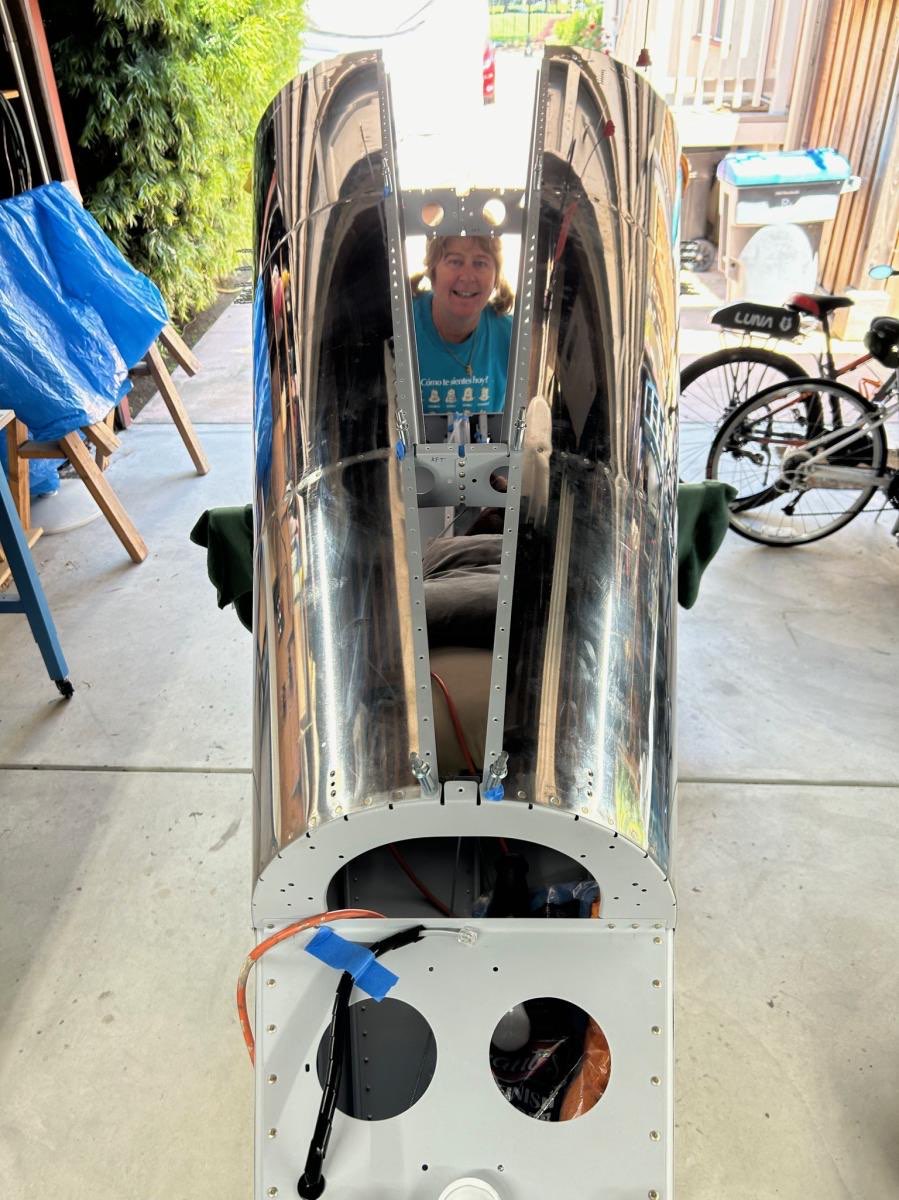
May 6 - 14, 2024 This section started with another change of pace: Temporarily mounting the vertical stabilizer onto the tailcone, and drilling some 1/4” bolt holes to secure it. It was fairly straightforward, but required drilling through several layers of aluminum sheet and a couple layers of steel (hinge brackets and tailwheel mount. And best of all we got photos of the most airplane-looking thing that we’ve seen yet! Then we proceeded to install the upper side skins. This was fairly simple, with Mary running the rivet gun, and my long arms reaching into the tailcone to hold the bucking bar. Many people set the tailcone on the floor and climb inside it for this, but I haven’t had to do that yet. I might need to for the top skin riveting, but not sure yet. The empennage kit is winding down! After the next step of riveting on the top skins, the plans proceed with temporary mounting of the control surfaces, and probably drilling bolt holes for this. Then there is fiberglass work to do (control surface tips and fairings), and then we are done with the empennage. We are hoping to get the quick-build wing and fuselage late this year, so we may have some months of down time while waiting. It will be nice to take a break during the summer and/or fall.
Time spent: 13hr