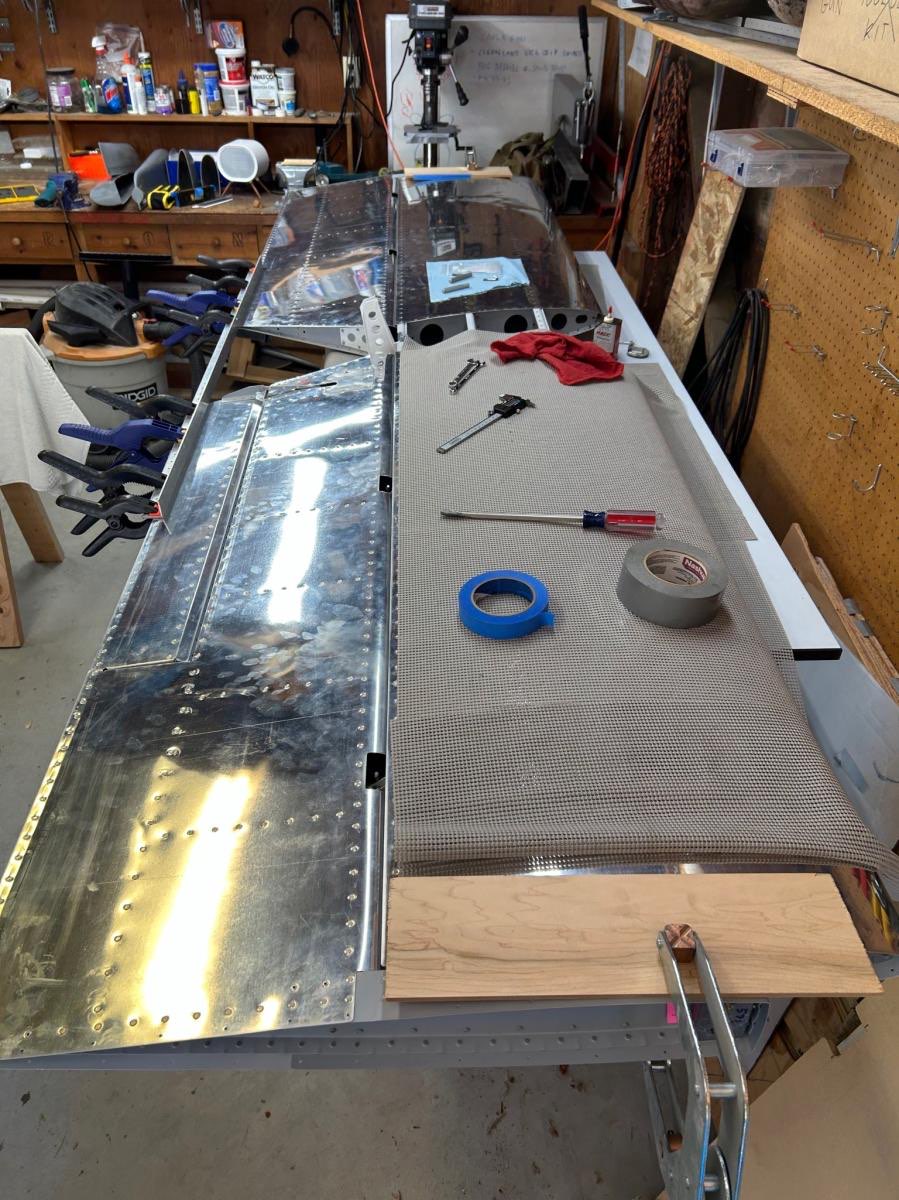
Elevator and Rudder attach and hinges
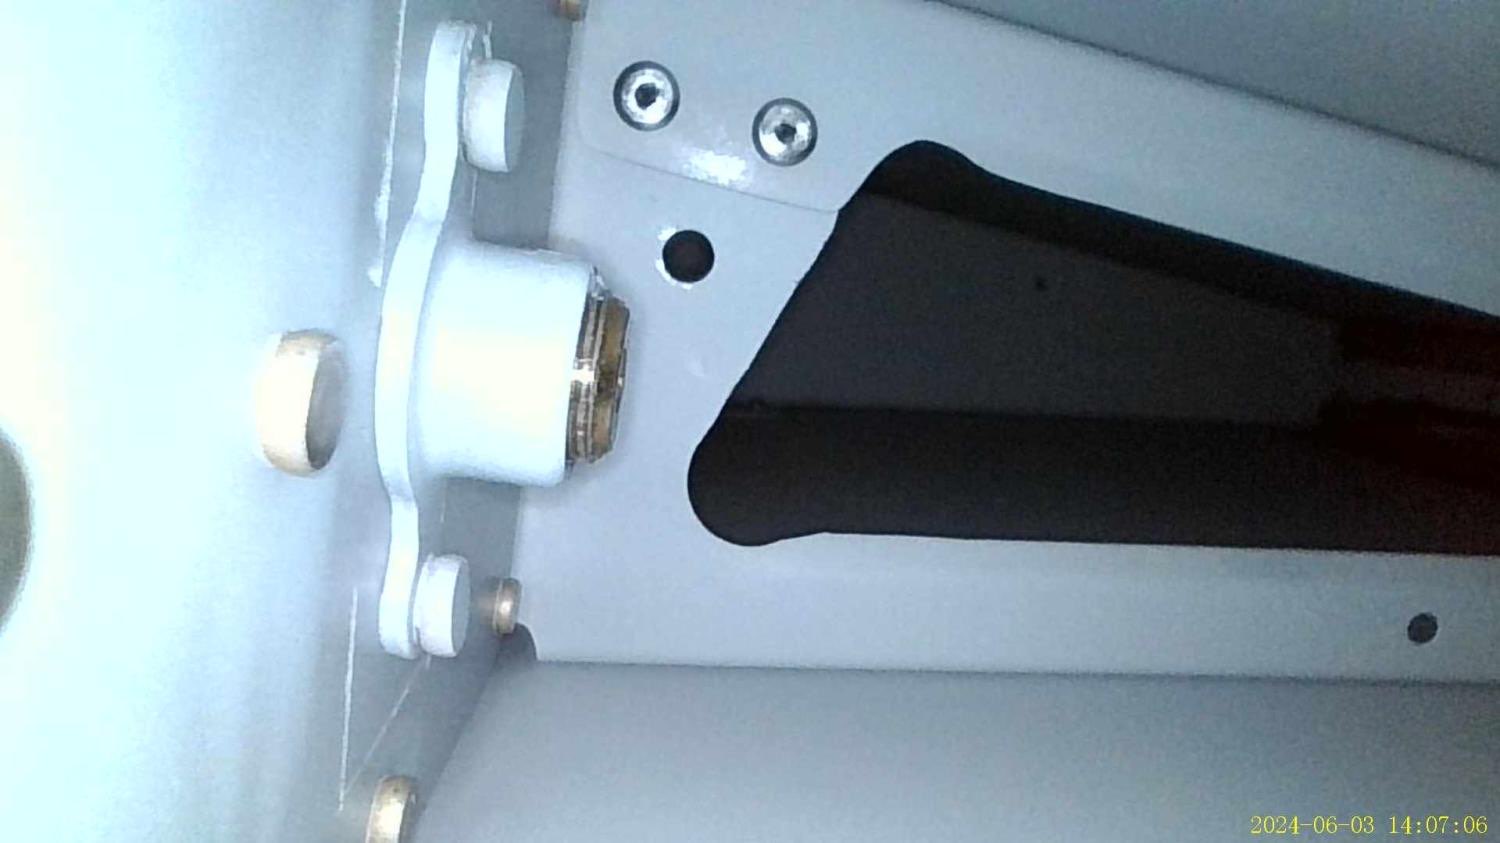
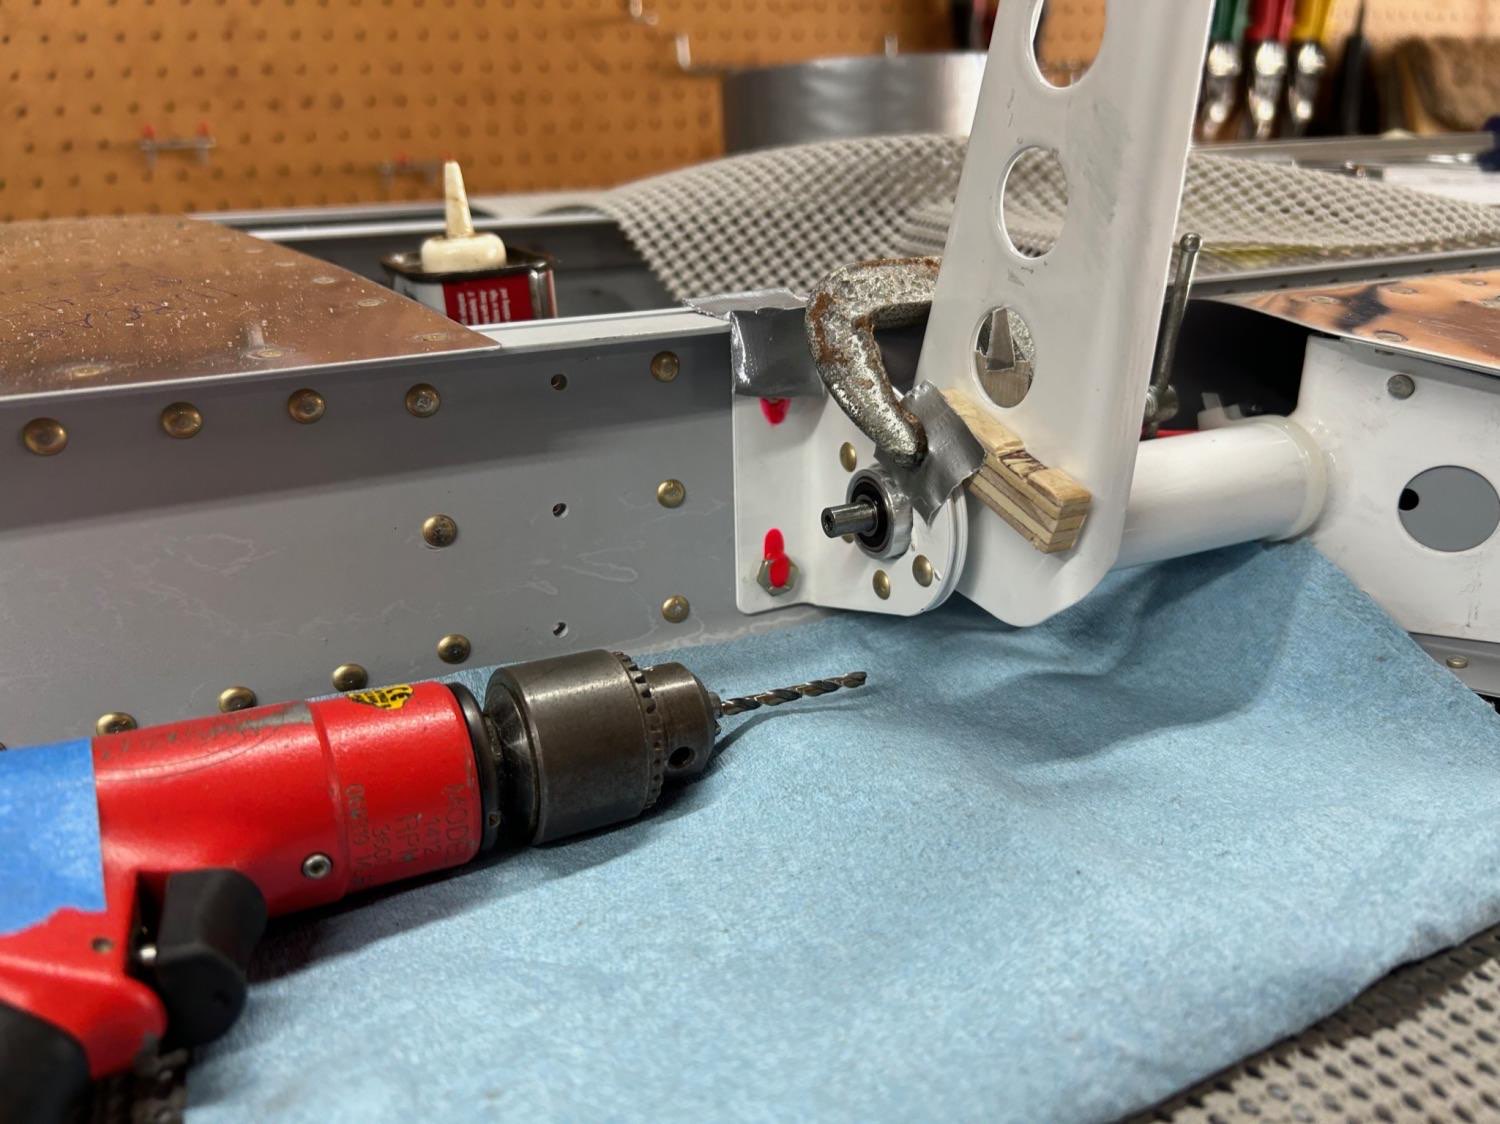
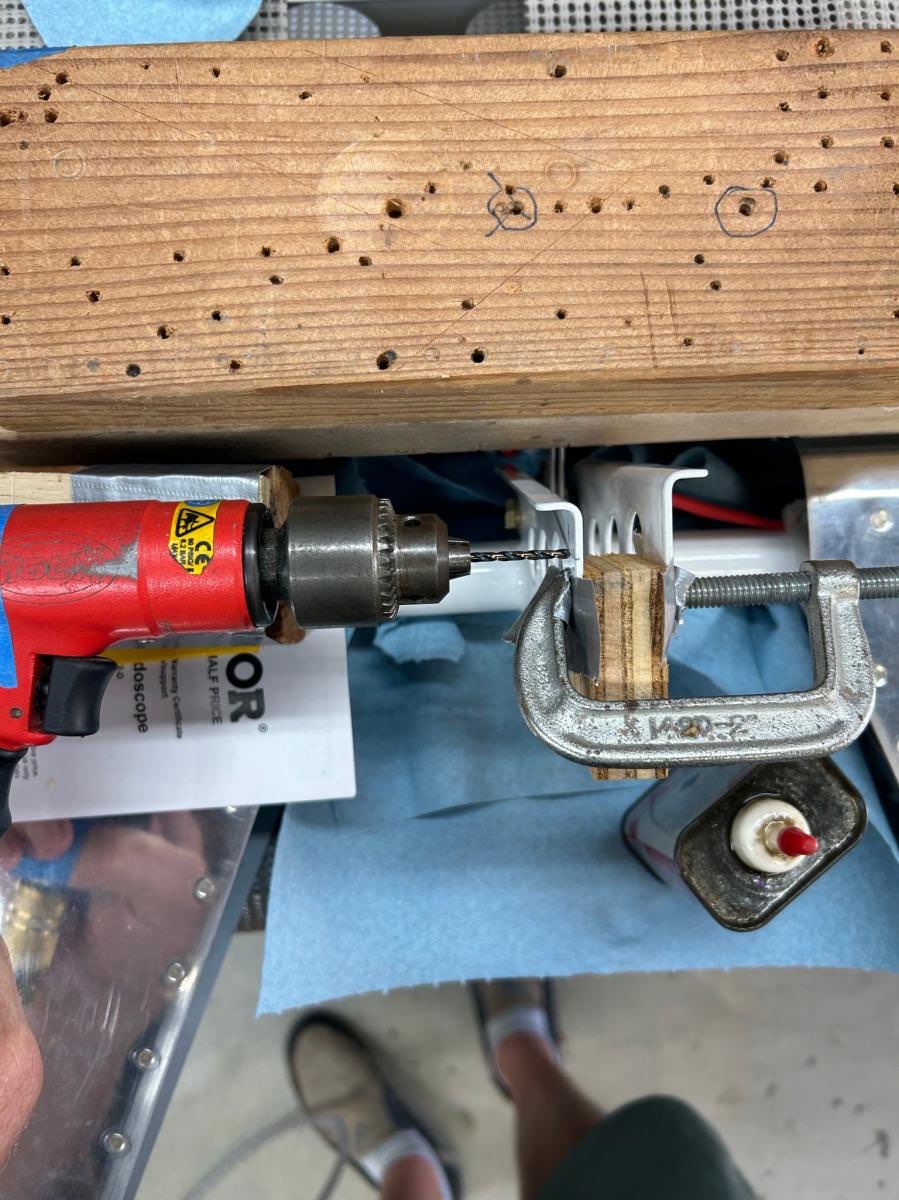
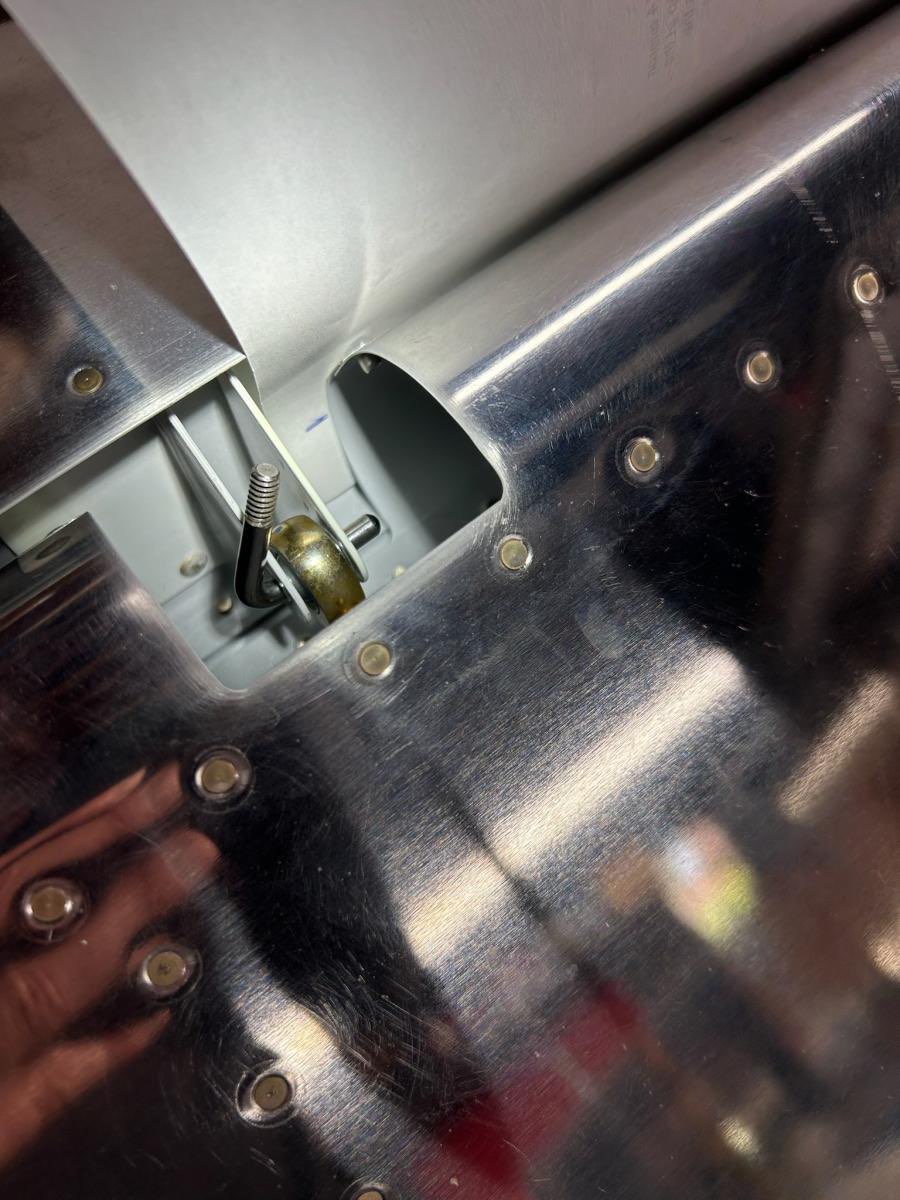
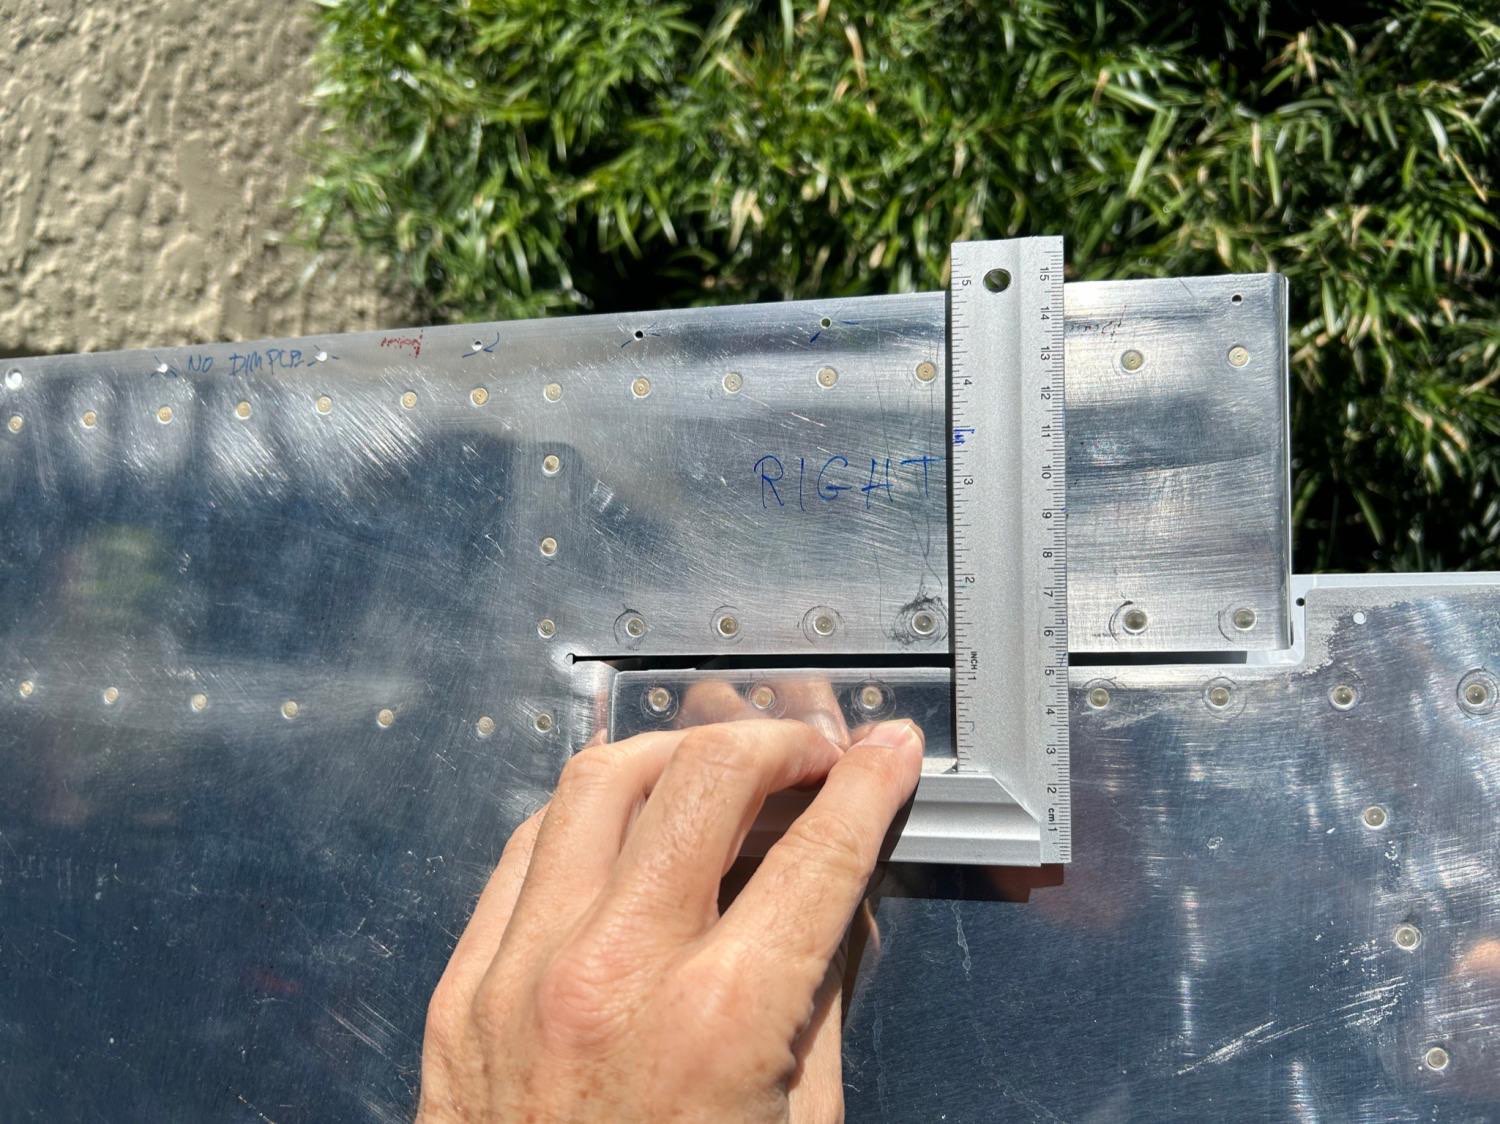
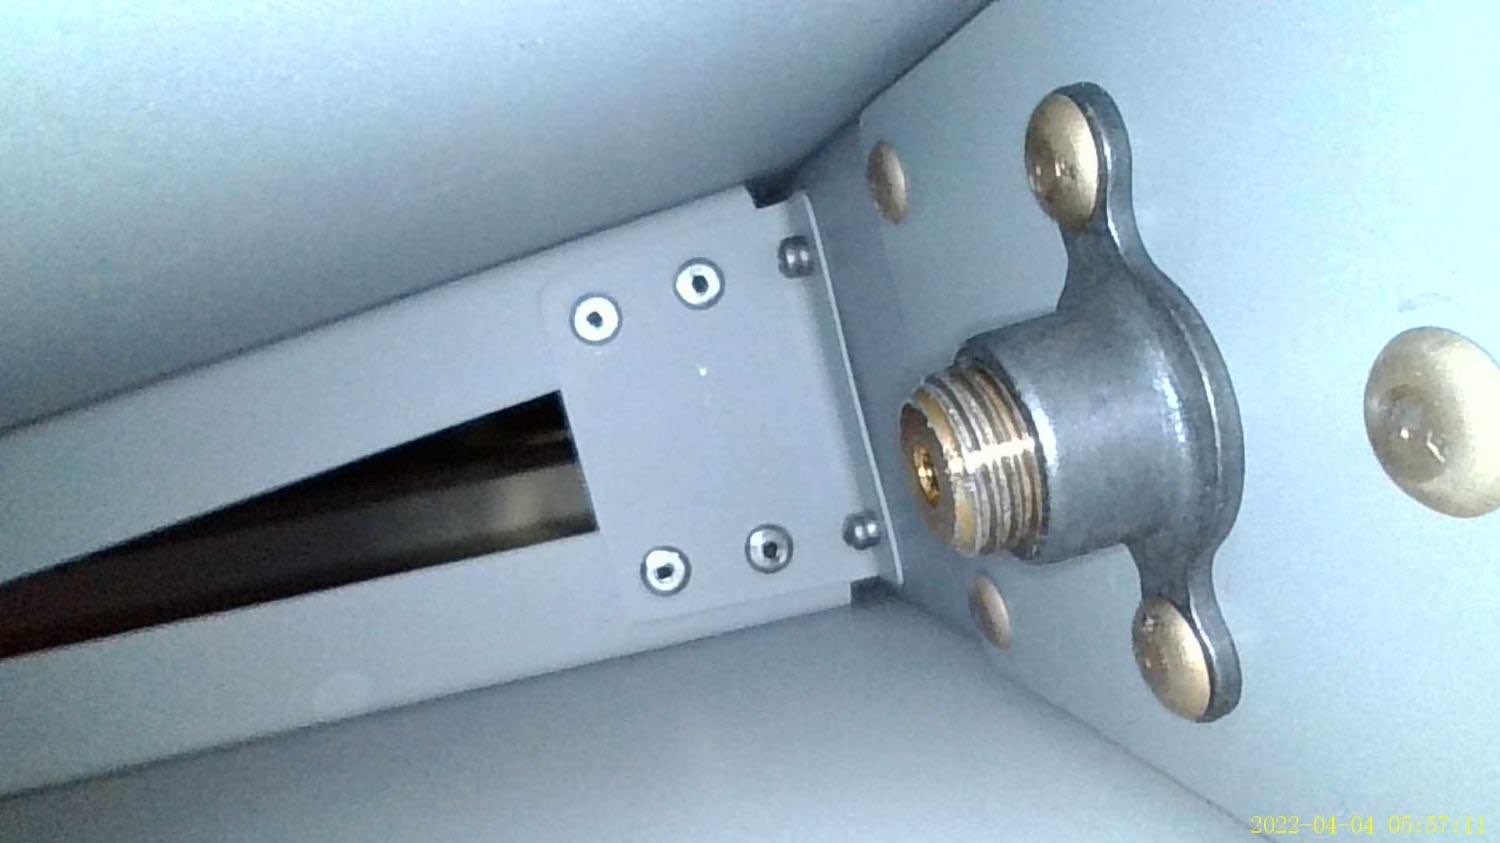
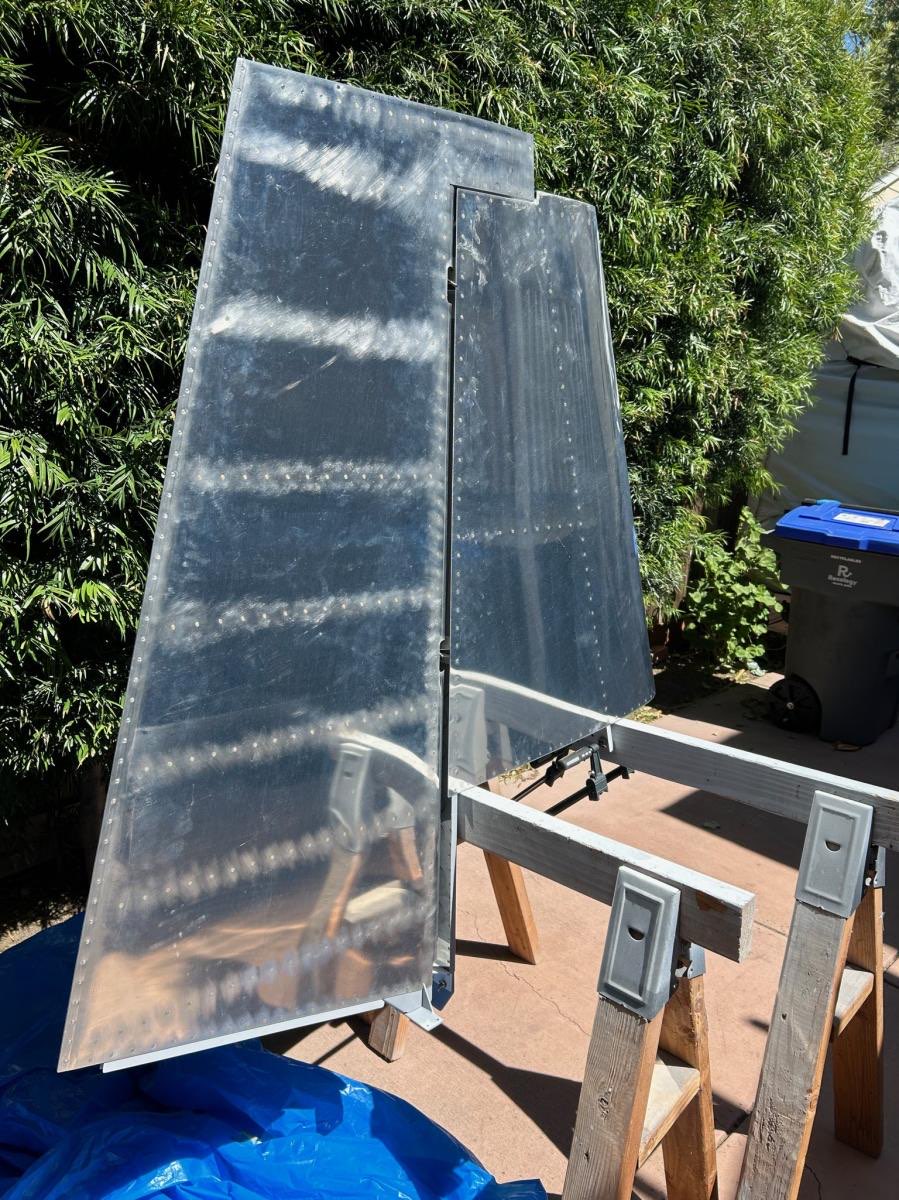
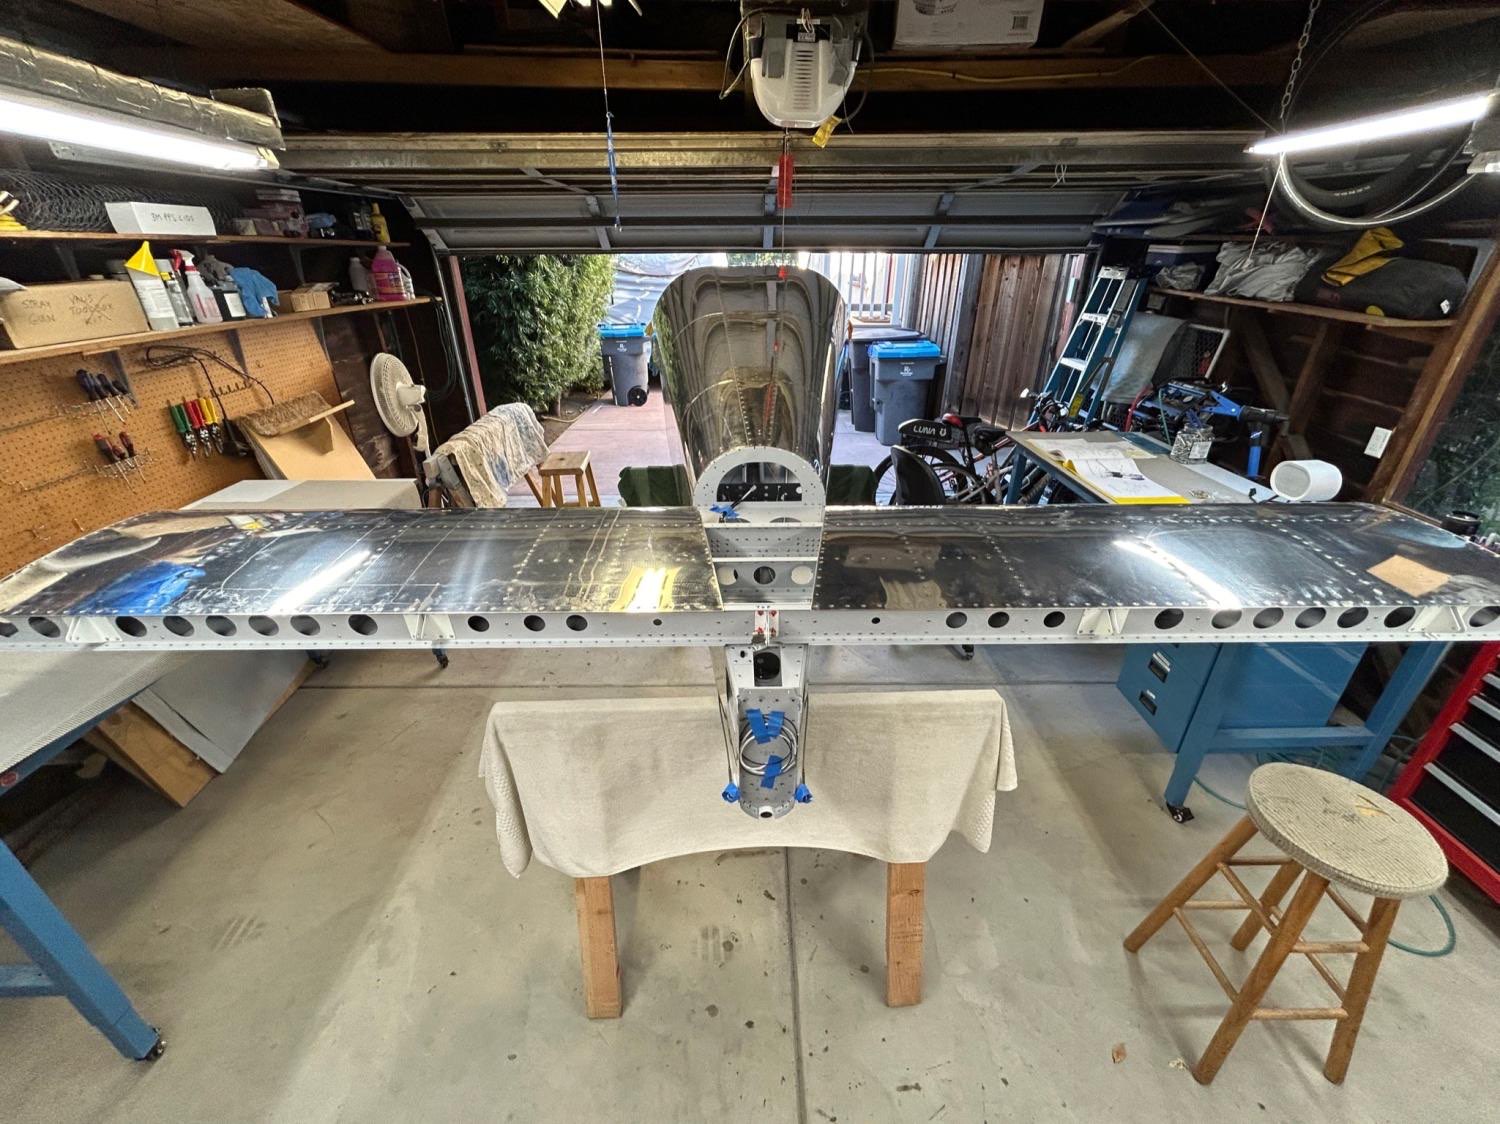
May 28-June 4, 2024: I felt kind of stuck and slow during this period, because we basically finished all the riveting on the tail cone (yeah!), so it’s time to switch gears a bit and develop some new skills and techniques. Starting with hinging the elevator and rudder off of their control surfaces, and also drilling some tricky holes in the elevator control horn. And then also getting supplies to start the fiberglass work for the tip fairings for all the control surfaces. First was attaching the elevators to the horizontal stabilizer (HS), and adjusting the control rod ends that screw into the elevator to space the elevator properly back from the HS and get full range of motion with little friction. This went pretty well, but took lots of fussing to get the rod ends adjusted so that the elevator leading edge does not scrape the HS hinge brackets at full up and down deflection. It’s easy to achieve this by backing out the rod ends, but then you might find that you don’t have adequate thread engagement in the nut plates inside the HS. You can’t see these nut plates, so I got to buy a new tool, a borescope camera, which will be very useful in the future for engine maintenance also. The photos inside the control surfaces below come from the borescope, which is like a medical steerable endoscope (but costs $130 made in China)! With lots of iteration, I found rod-end settings that achieved no scraping, and also had sufficient thread length (barely) protruding from the nut plates. Then it’s time to drill holes in the elevator control horns, for both the hinge bolt and the control rod. The forums were full of problems here, with people messing up the holes in the steel horns, and then having to hire a welder to patch the horns and re-drill. So, I went very slowly and carefully, and basically clamped the HS and elevators very tightly at the counterweight ribs and trailing edges, so absolutely nothing could shift while I drilled through the tough steel. The other smart thing I did, since I’ve had trouble drilling cleanly through steel in previous steps, was that I borrowed a pneumatic drill from Paul and Kacy. It is so small and so powerful, that I can’t go back. So, I’ve ordered my own (what’s another $200?) and am looking forward to using it a lot instead of my battery drills, or big heavy 120V drill. With the careful work, I was very happy that the holes came out accurately, with good trailing edge alignment of both the left and right elevators! Since I was working on elevator hinging, I decided to jump ahead a few pages in the plans and test the rudder hinging also. I suspected that I might need to order some rod ends with longer threads, and this proved to be true in the rudder middle hinge position. I mounted the rudder in the nominal position as shown in the plans, with no scraping of the leading edge. (I was relieved by this, because I wasn’t sure I got the leading edge shape bent properly when we built the rudder.). However, the middle hinge rod end did NOT have adequate thread engagement as shown by the borescope (photo below). This is easily solved by replacing it with one with longer threads, which I think Van’s should have supplied in the first place! So, the rudder hinging isn’t done yet, waiting for a new part, and also waiting to test it after the vertical stabilizer (VS) is properly mounted on the tail cone. Next up is mounting the HS and the VS on the tail cone (started in last photo below). And then on to fiberglass work!
Time spent: 19hr 30min