Fiberglass demo with Paul and Kacy
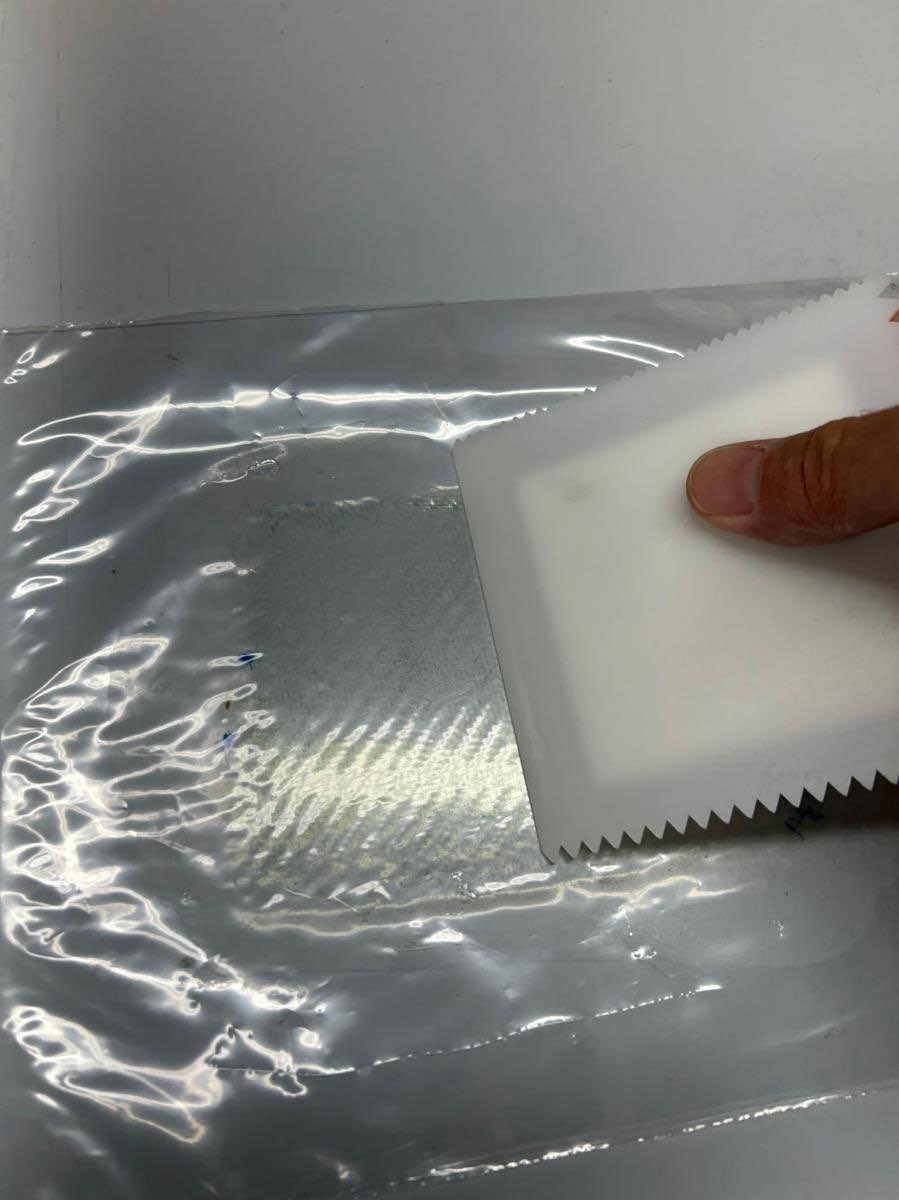
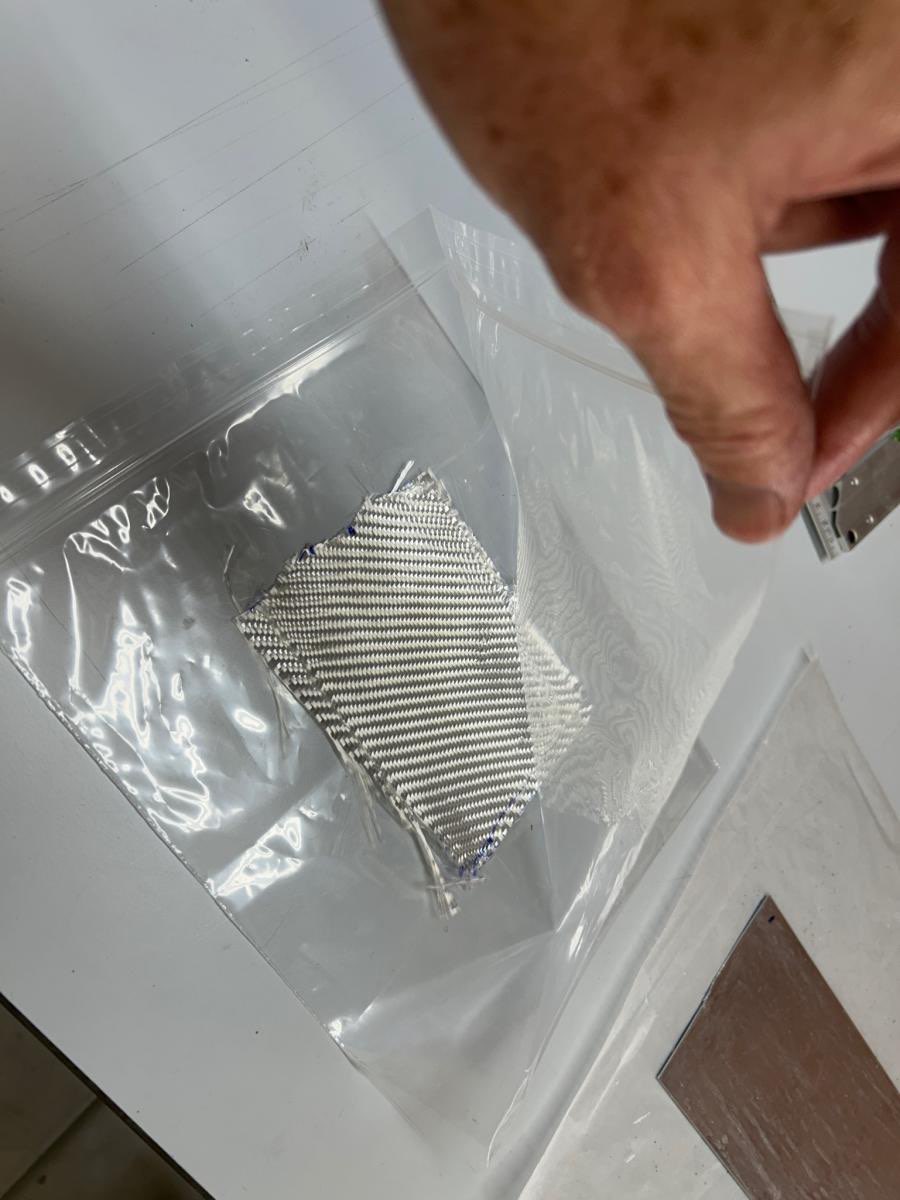
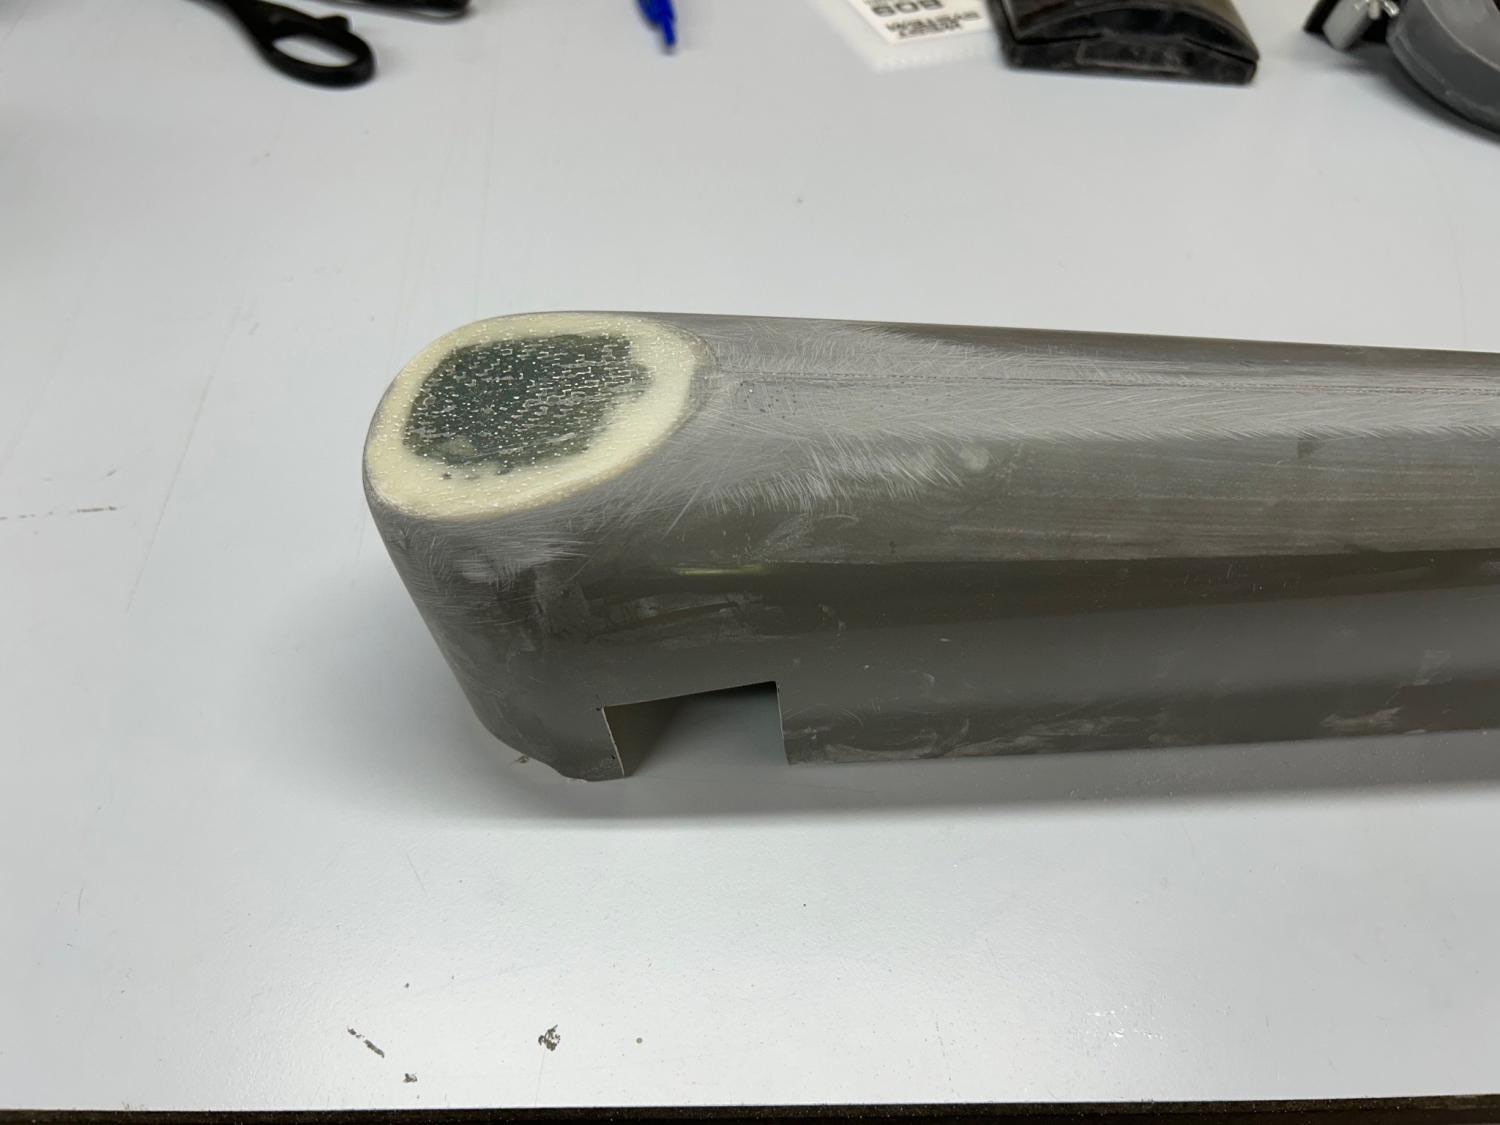
July 7-8: Paul and Kacy came over to show me how to do proper fiberglass patches, for example for the hole in the rudder bottom fairing, and for sealing up the aft ends of the rudder and HS fairings. For a demo project, we made a fiberglass patch to cover the hole I cut in the rudder bottom fairing. Here are notes copied from that day: Ziplock bag trick: Put fiberglass patch (2 layers of cloth cut oversize) between 2 layers of plastic film, like inside a ziplock bag. Pour resin over patch, and spread it with plastic spreader, which is on top of plastic film. After squeegee-ing out the epoxy and eliminating air from the weave, the fiberglass becomes almost transparent. Then cut around the fiberglass with scissors, peel off one layer of plastic, transfer to waxed aluminum (to hold it flat and smooth), then peel off top layer of plastic, then add peel-ply, and wet it out with brush with a stabbing motion. Leave dry peel ply protruding from edges of fiberglass, for easy peeling later. The peel-ply does NOT leave a smooth surface, but instead a controlled rough surface for good bonding of the next interior layer of fiberglass. They also taught me to use flox/epoxy mix for structural bonds (hard to sand), and use micro-balloon/epoxy mix only when easy sanding/fairing is required. I let the patch cure overnight on the waxed aluminum scrap, then peeled it off, and trimmed it slightly oversize to cover the hole. Then I epoxied the patch onto the hole with a thin layer of epoxy around the perimeter. After that cured, I put a fillet of epoxy/flox around the inside perimeter of the hole to get a good radiused surface for the inside layer of glass to bond to. After that cured, I cut a single-layer fiberglass patch to apply on the inside of the fairing, and epoxied that to the patch from the inside. After sanding and fairing the exterior of the patch, it looked very smooth and strong!
Time spent: 11hr