Finishing the HS fairings, and priming all fairings
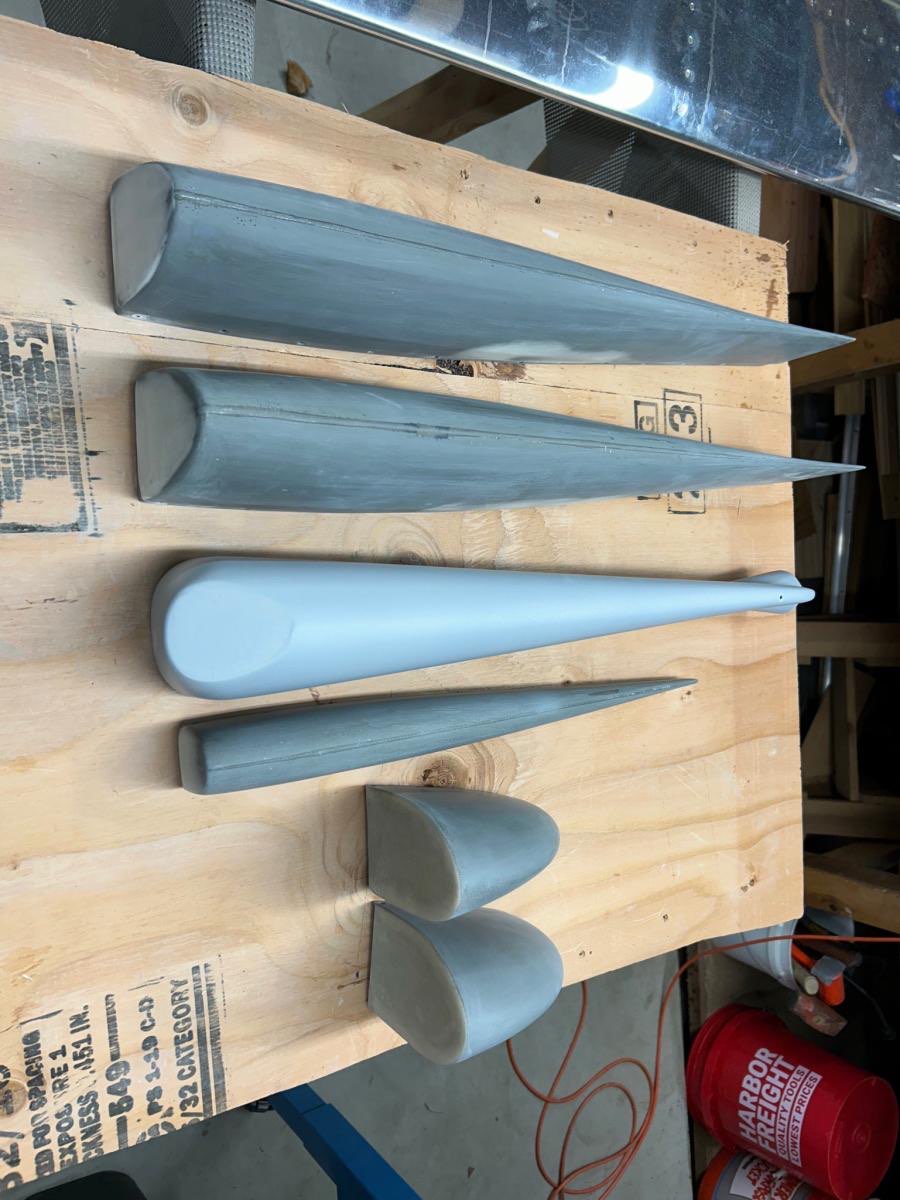
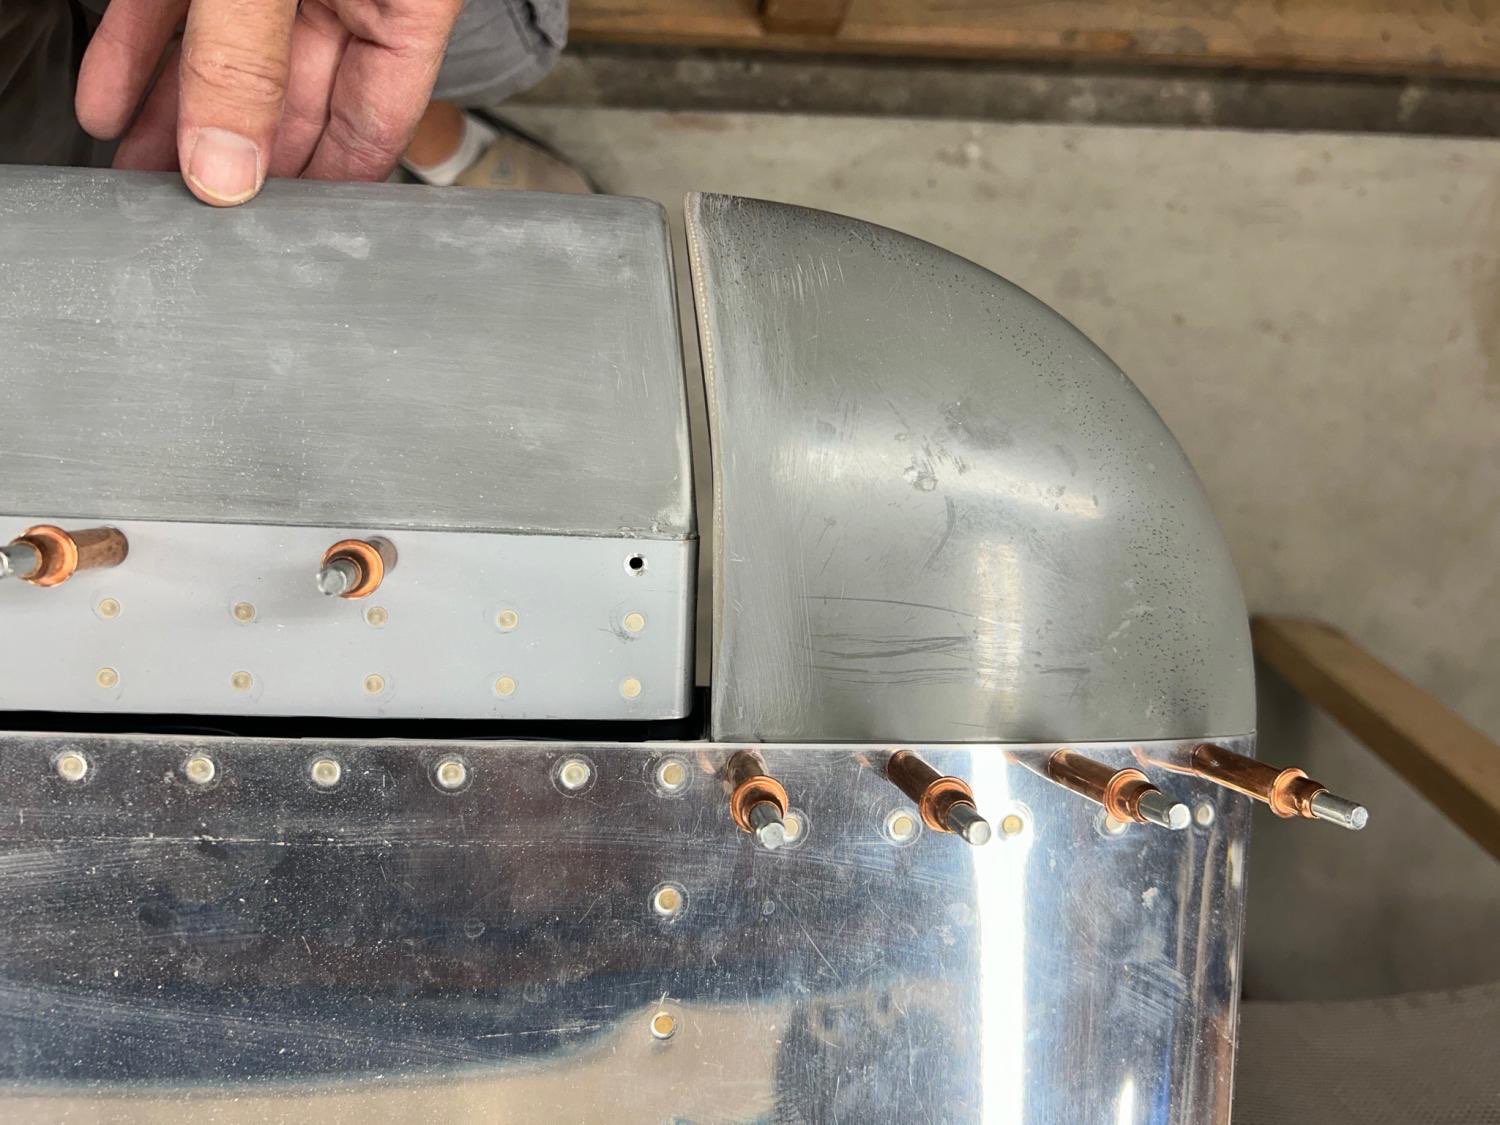
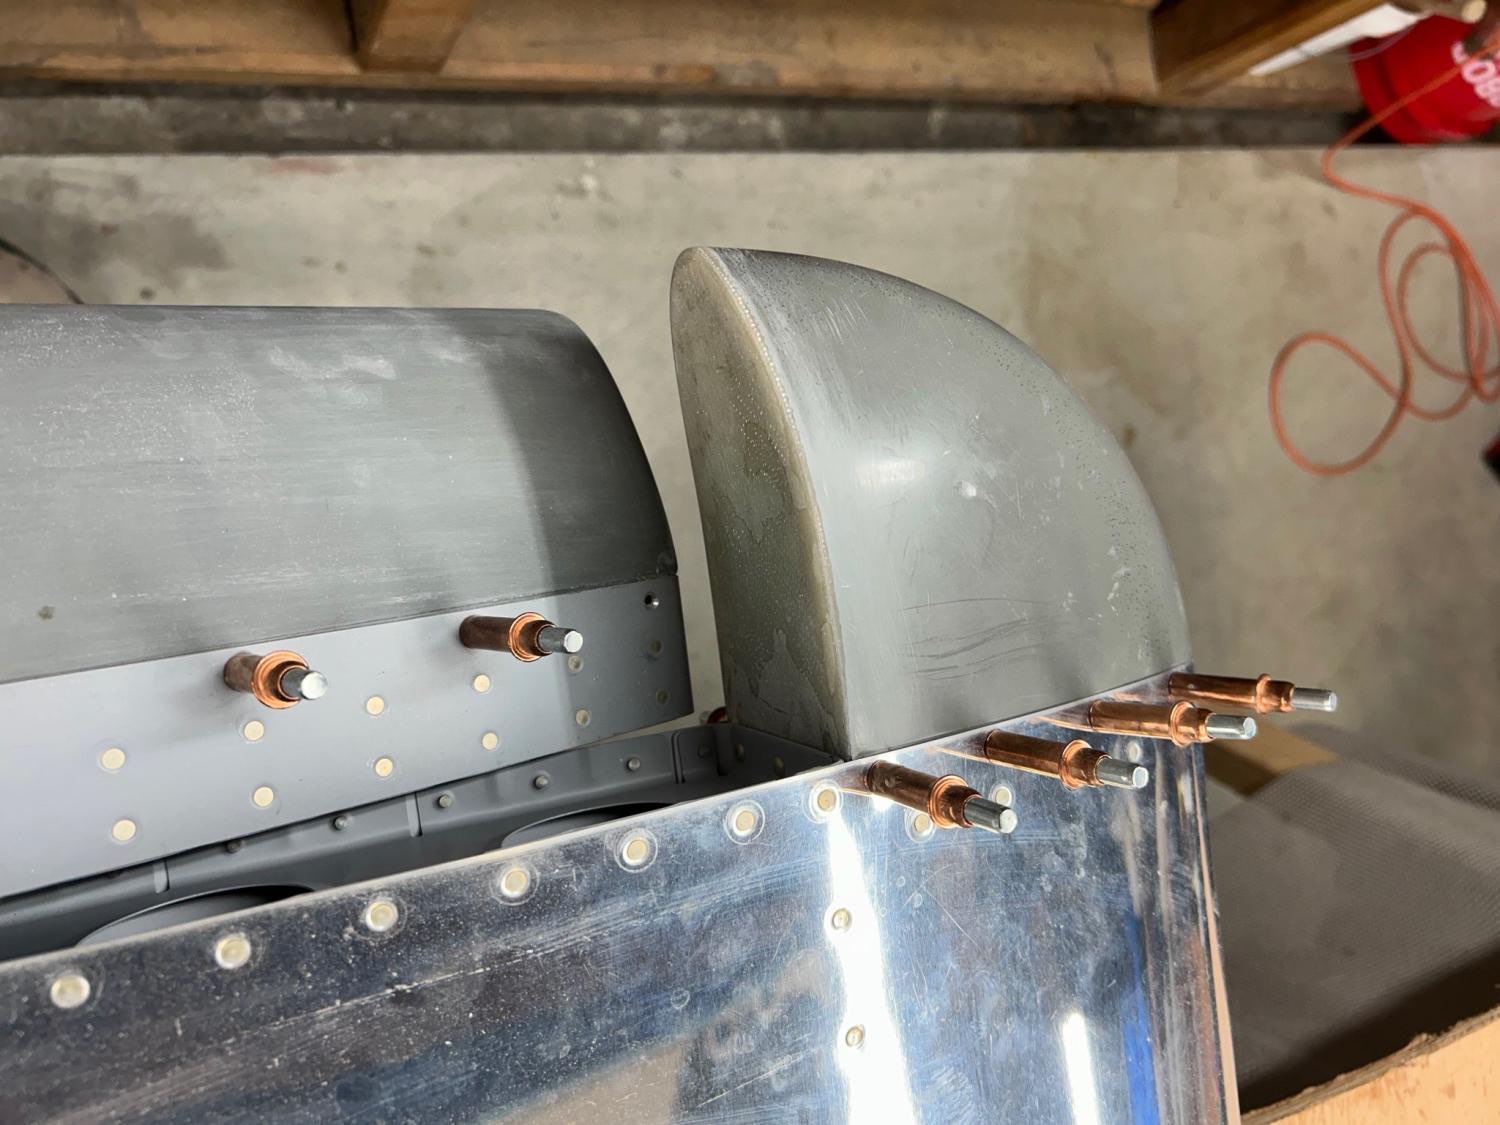
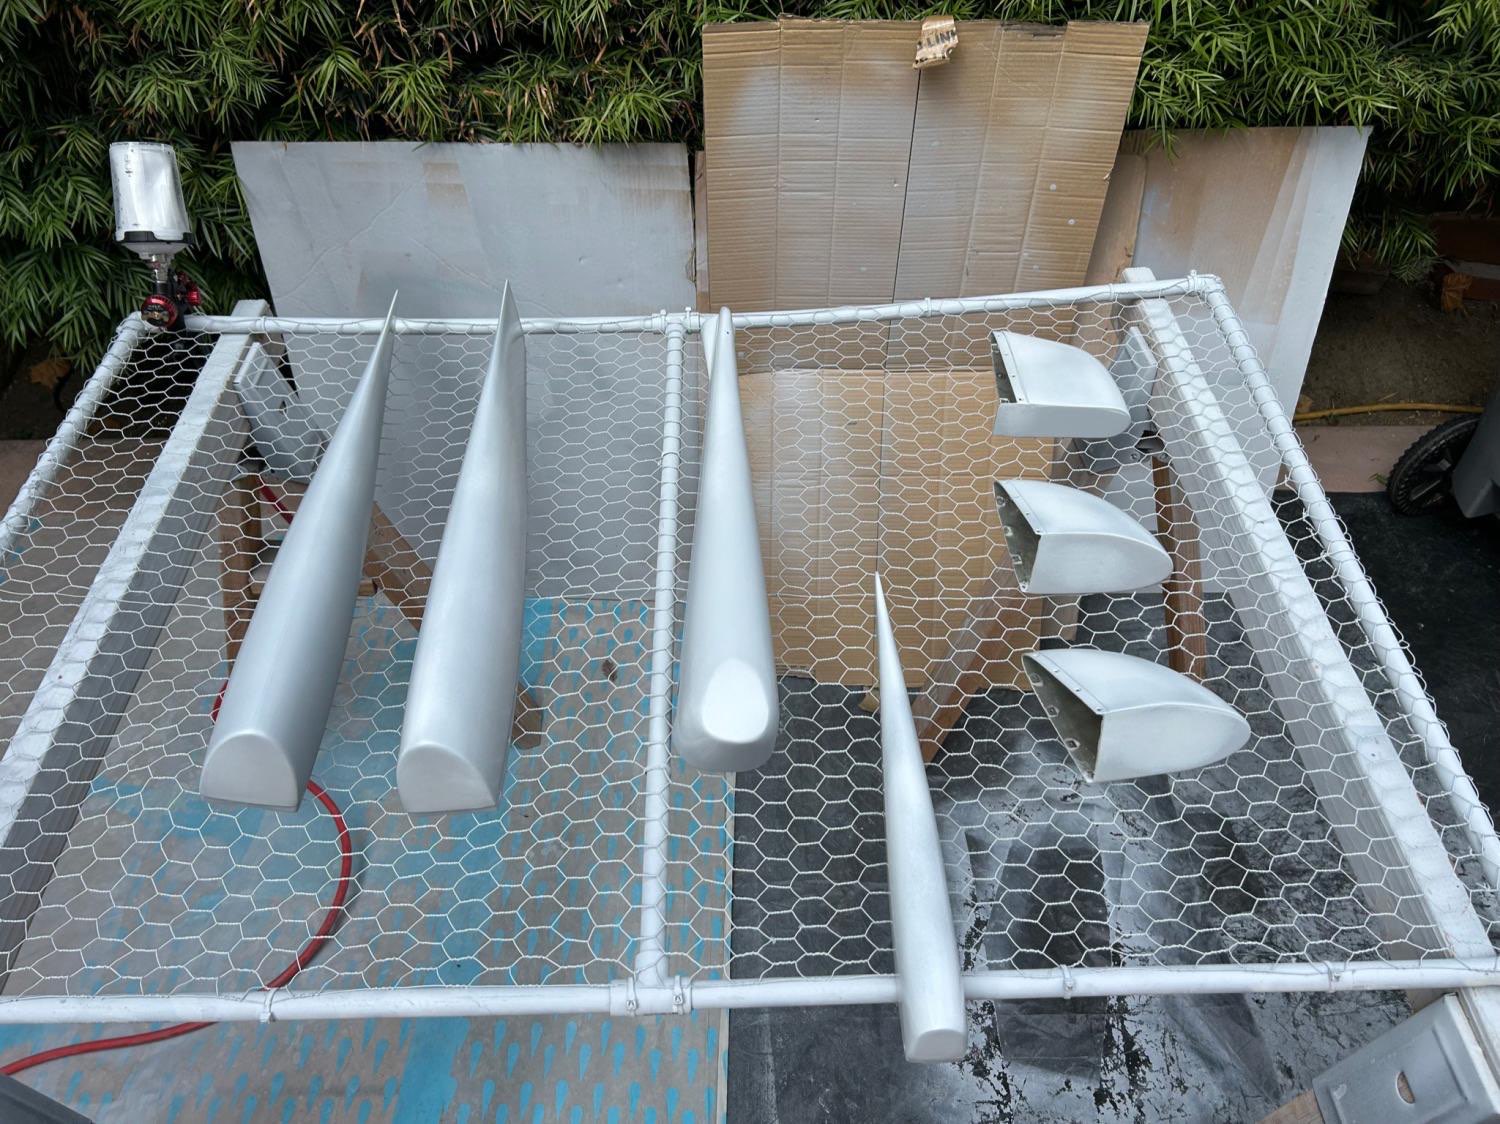
Sep 3 - 17, 2024 As I got close to finishing the fiberglass fairings, I decided to do a test priming batch with Stewart System’s Ekopoxy, which I haven’t used before. It’s a 2-part epoxy paint (yet water soluble), and it has better UV protection and resistance to fuel and oil than the Ekoprime that I used for anti-corrosion on the interior of the empennage parts. Ekopoxy is VERY thick before mixing with the catalyst and diluting a bit with water. I didn’t make enough to go very far, but I had enough to mostly cover the VS fairing and rudder bottom fairing. Coverage looked good, so the experiment was a success! The HS fairings were the next (and last) fairings to go. They were over-size as delivered, and needed to be cut down to size to fit just ahead of the elevator fairings, with a minimum 1/8 inch gap between. They also had a shape that didn’t really match the leading edge shape of the elevator fairing, so it took some manipulation with little popsicle sticks cut to the right length to hold the fairings in the right shape, to get the HS fairing profile to match the elevator counterbalance ribs. It wasn’t hard, but the shape needed to be held properly before gluing on the patches that close out the aft face of the HS fairings. Since the patch would fill in some of the gap between the HS and elevator fairings, I started with a 3/16” gap instead of 1/8”. This seemed to work out well. I made 2-layer fiberglass patches to close out the HS fairings (same technique as described earlier for the rudder and VS patches). After gluing them onto the fairing, I then added a fillet of epoxy flox around the interior of the patch, and then another layer of fiberglass on the inside. When done, it seemed VERY strong, and the shape profile seemed like a good match to the leading edge of the elevator fairings. Another layer of epoxy was painted on the outside of the patch to fill in some gaps and pinholes and get a nice smooth surface after sanding. After a lot of sanding (started with 80 grit, then 150 grit, then 320), all the fairings seemed ready for a coat of primer. This coat will be the final treatment before flight, and should last until the plane goes to a real paint shop. I mixed up a much bigger batch of the Ekopoxy, and sprayed all 7 of the fairings. I gave them two good coats, and some additional touch-up on some spots that seemed too light. All looked reasonably good at the end, though there are some minor pinholes and defects that are MUCH more visible after priming than they were before! I’ll leave that level of detail for the paint shop. Next step: riveting the fairings onto the empennage control surfaces, which will be the last step of the empennage!
Time spent: 26hr